Friday, April 23, 2021

Gryffindor Fireplace: The Dollhouse Saga

A Harry Potter room has to have a fireplace. Something to sit in front of while reading The Dibbler. This was a challenge in many ways. It was my first completely from scratch item, it was my first time trying to do such tiny tiny painting. The violas are huge in comparison. Also the first time making a “fire” from the ground up. 
Here is how it began;
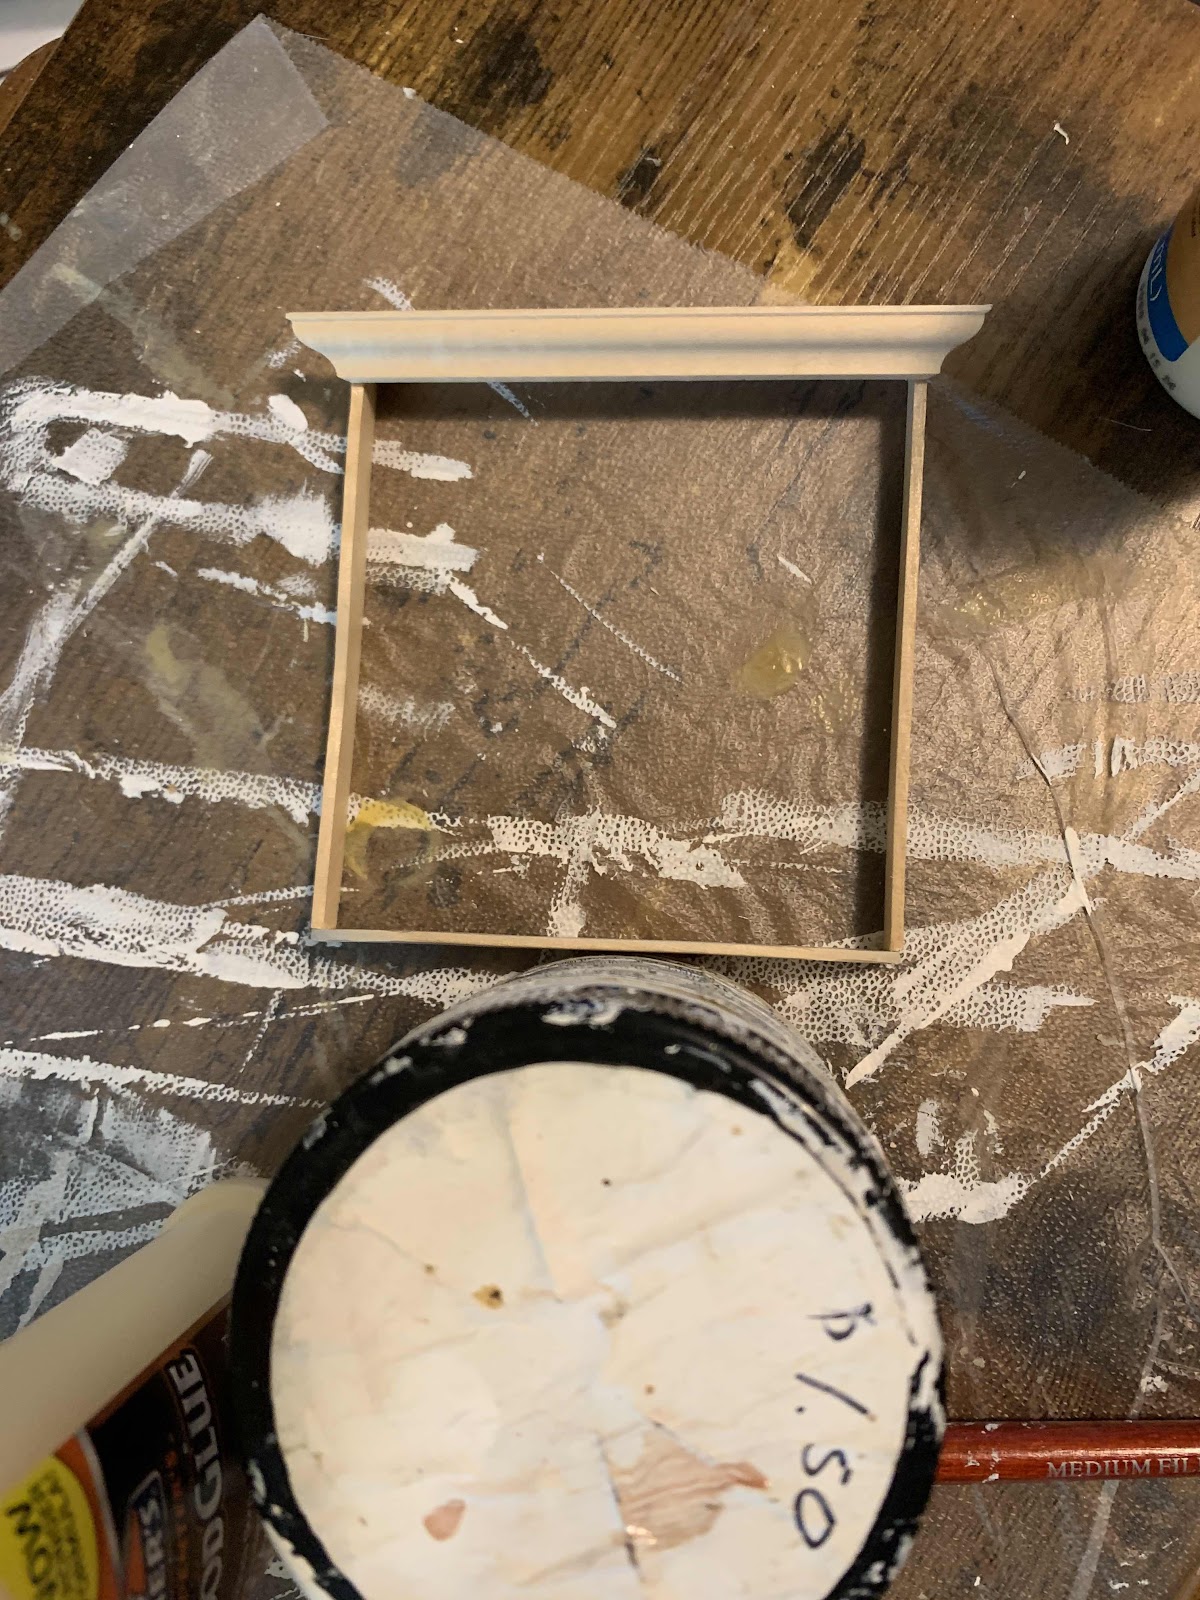

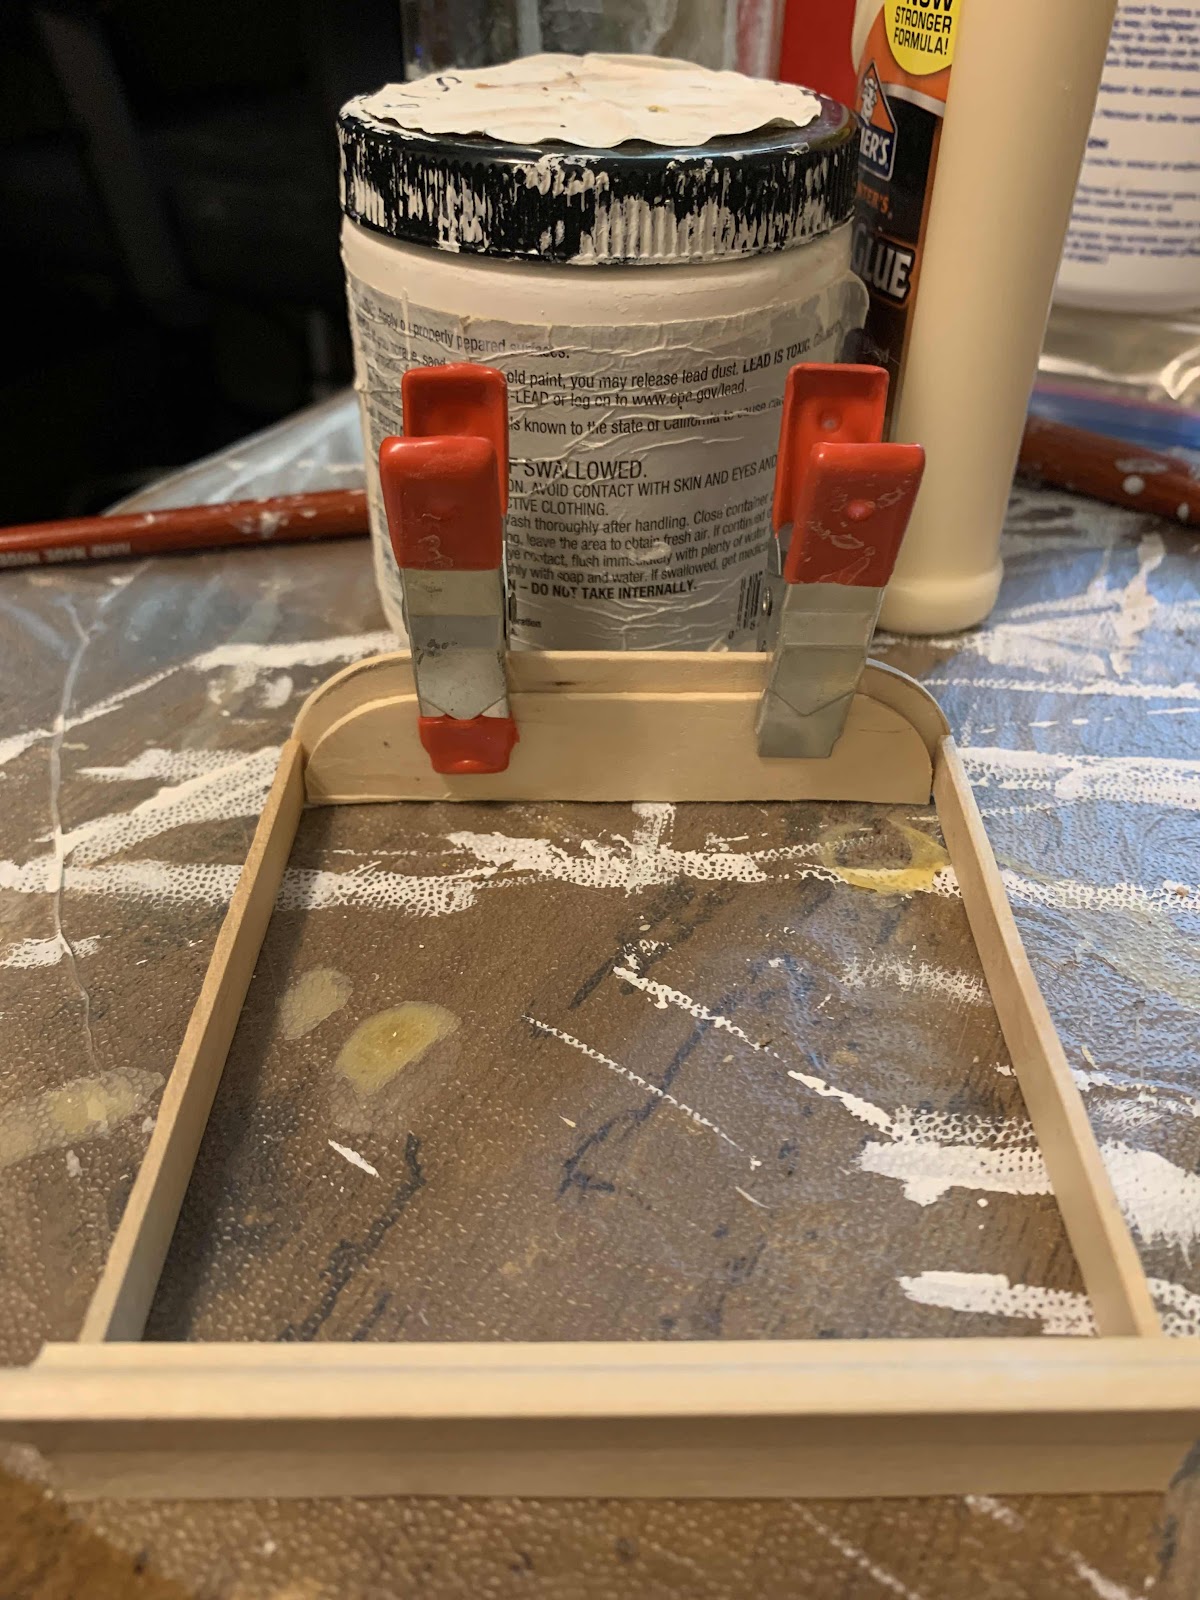


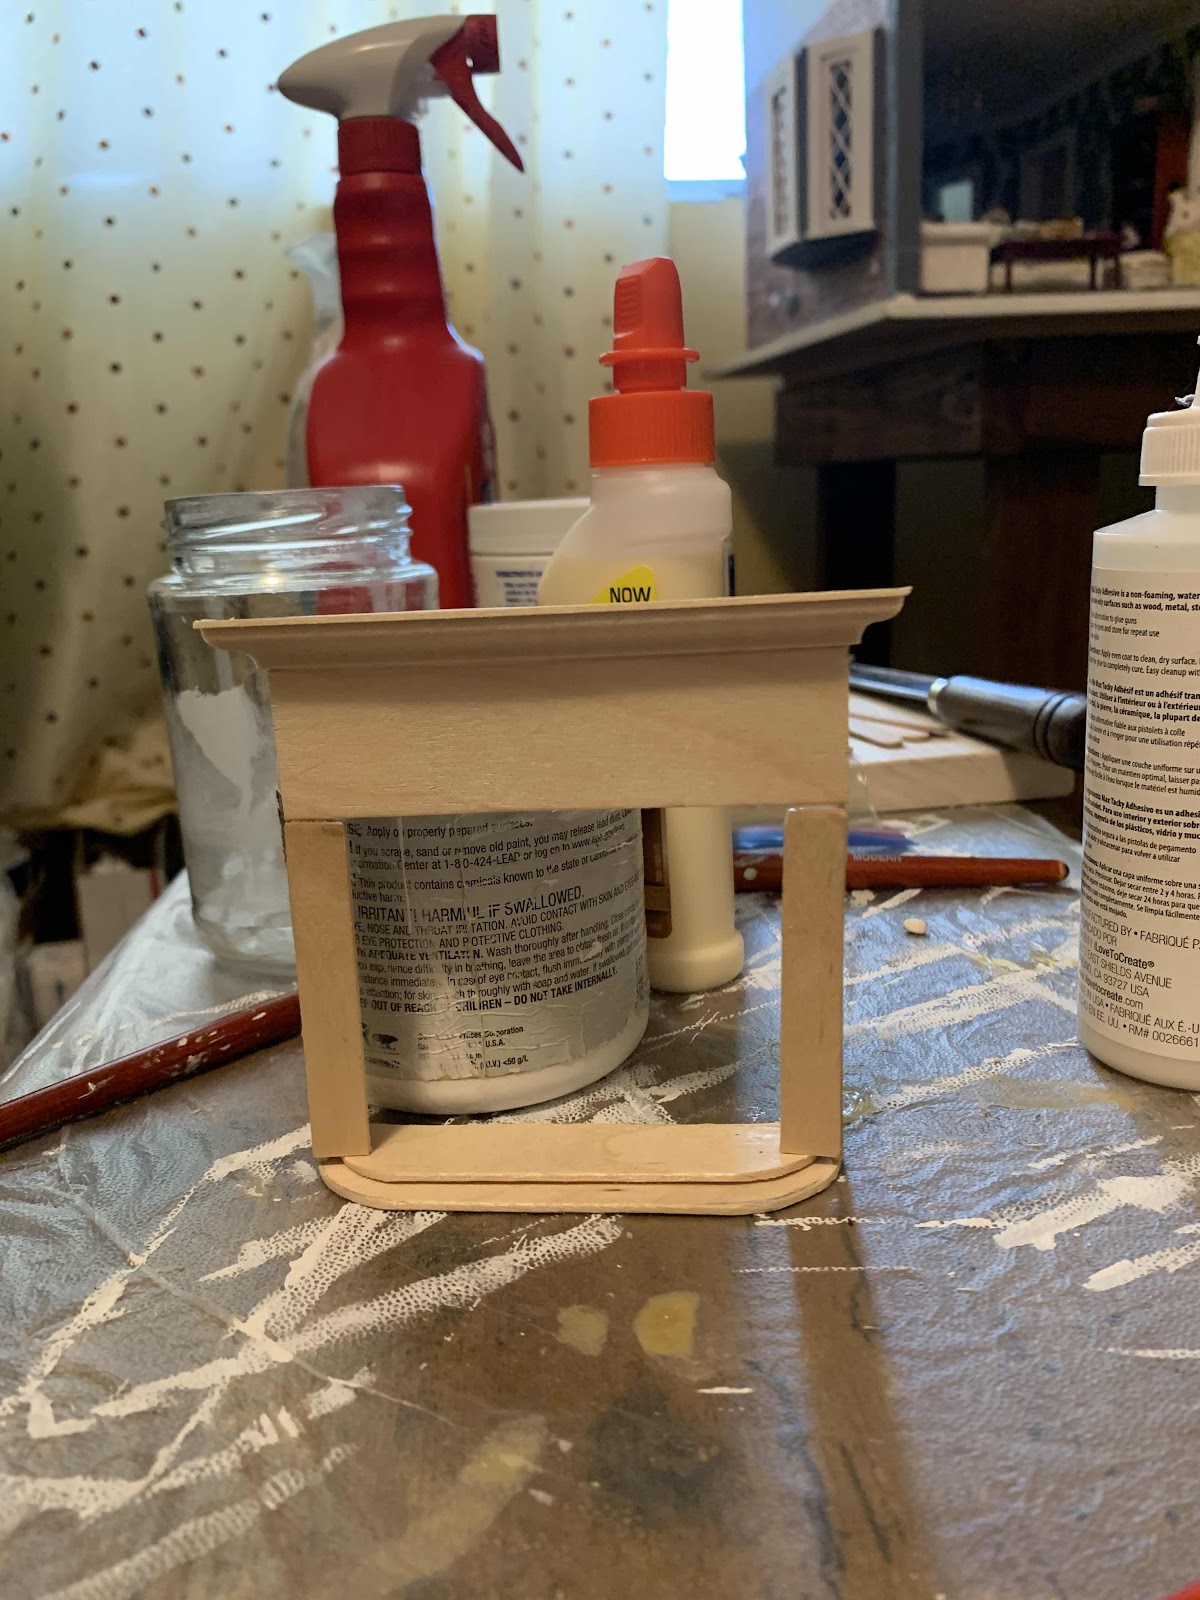
I cut those curves on the hearth by hand. I would not recommend it if you have hand issues


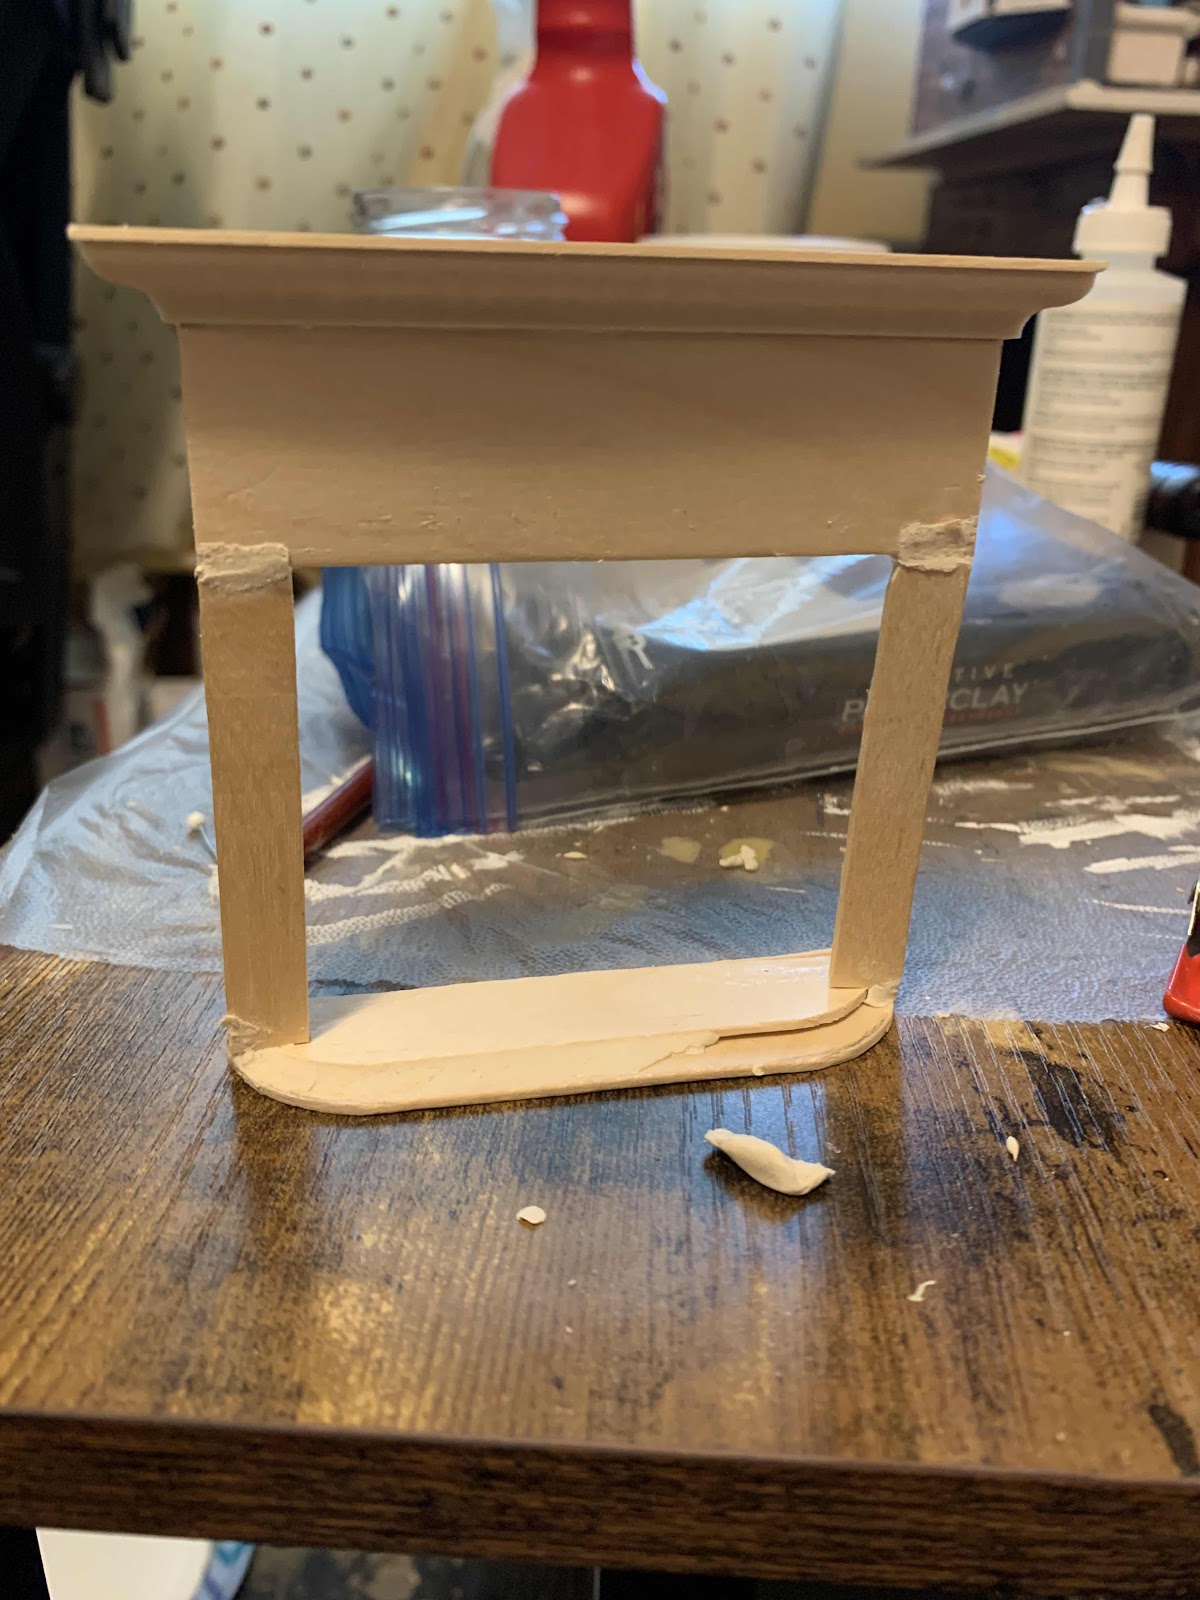
Filling in any gaps with paper clay, plus I used it to moulding the edge of the hearth.


A dry fit to see how it looks.


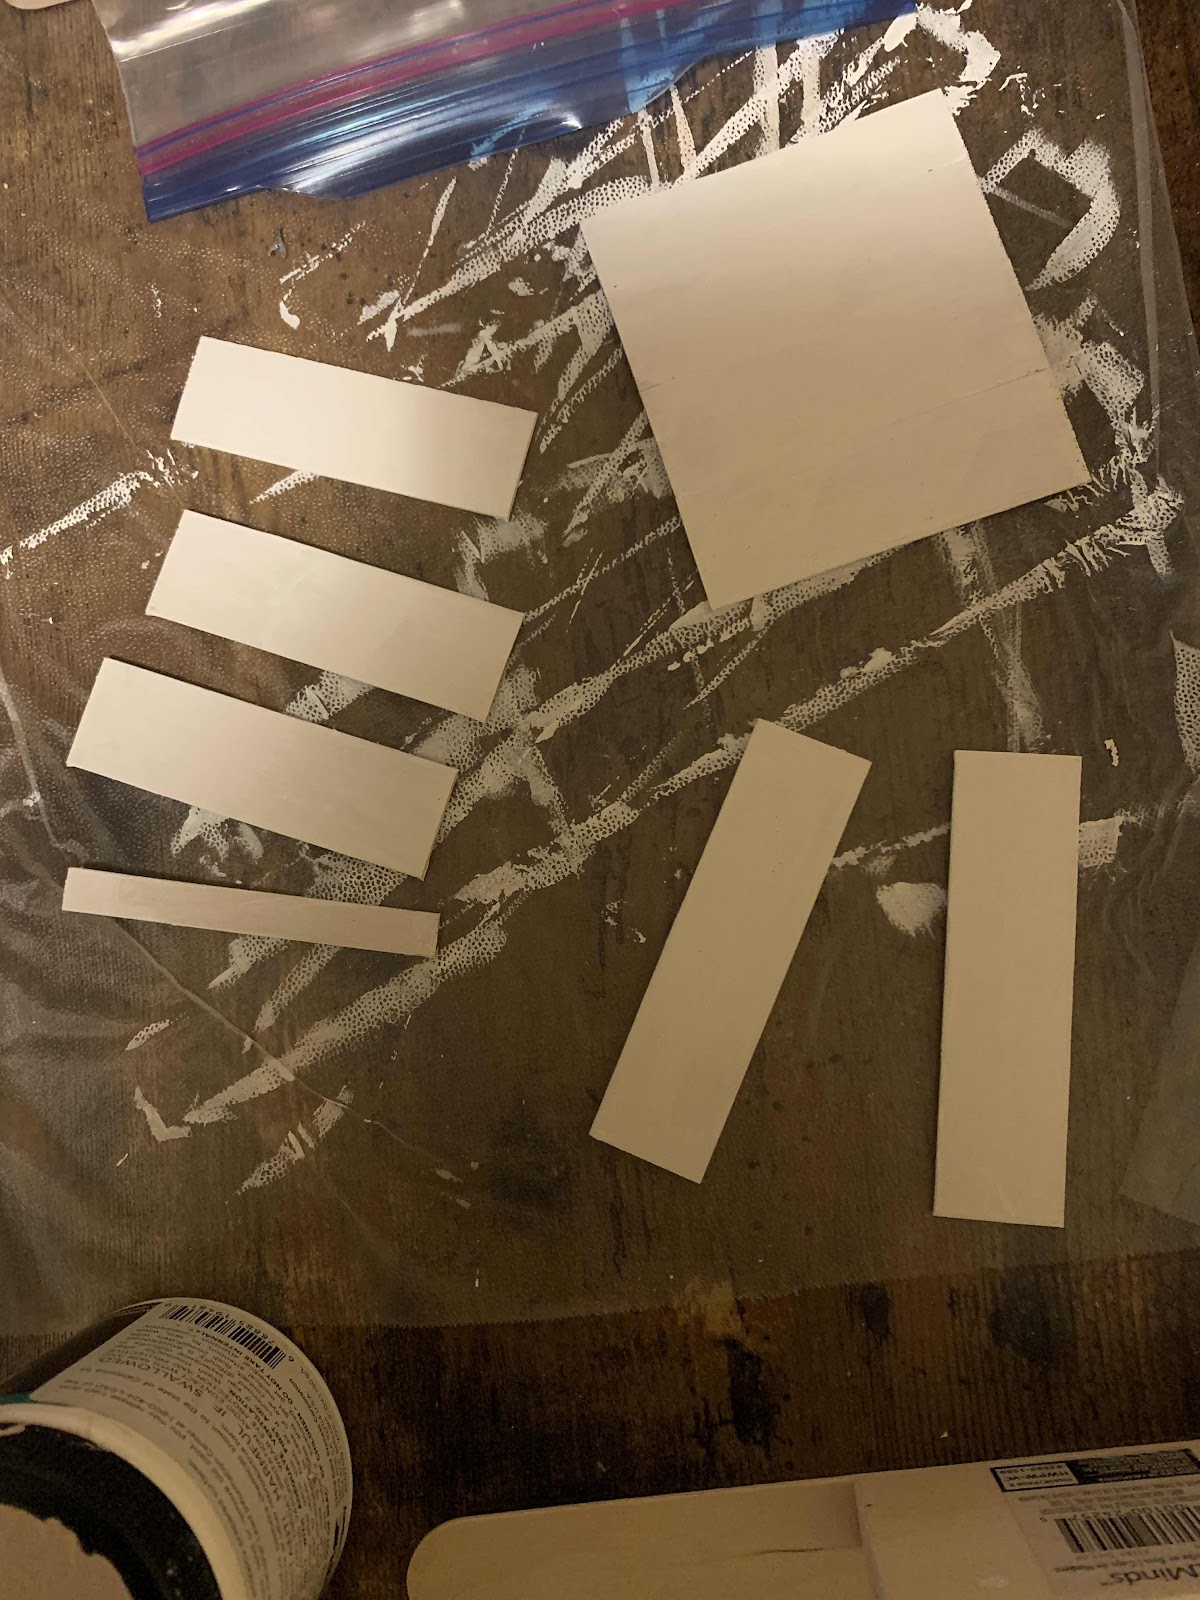
Checking to see how the brick looked for the back
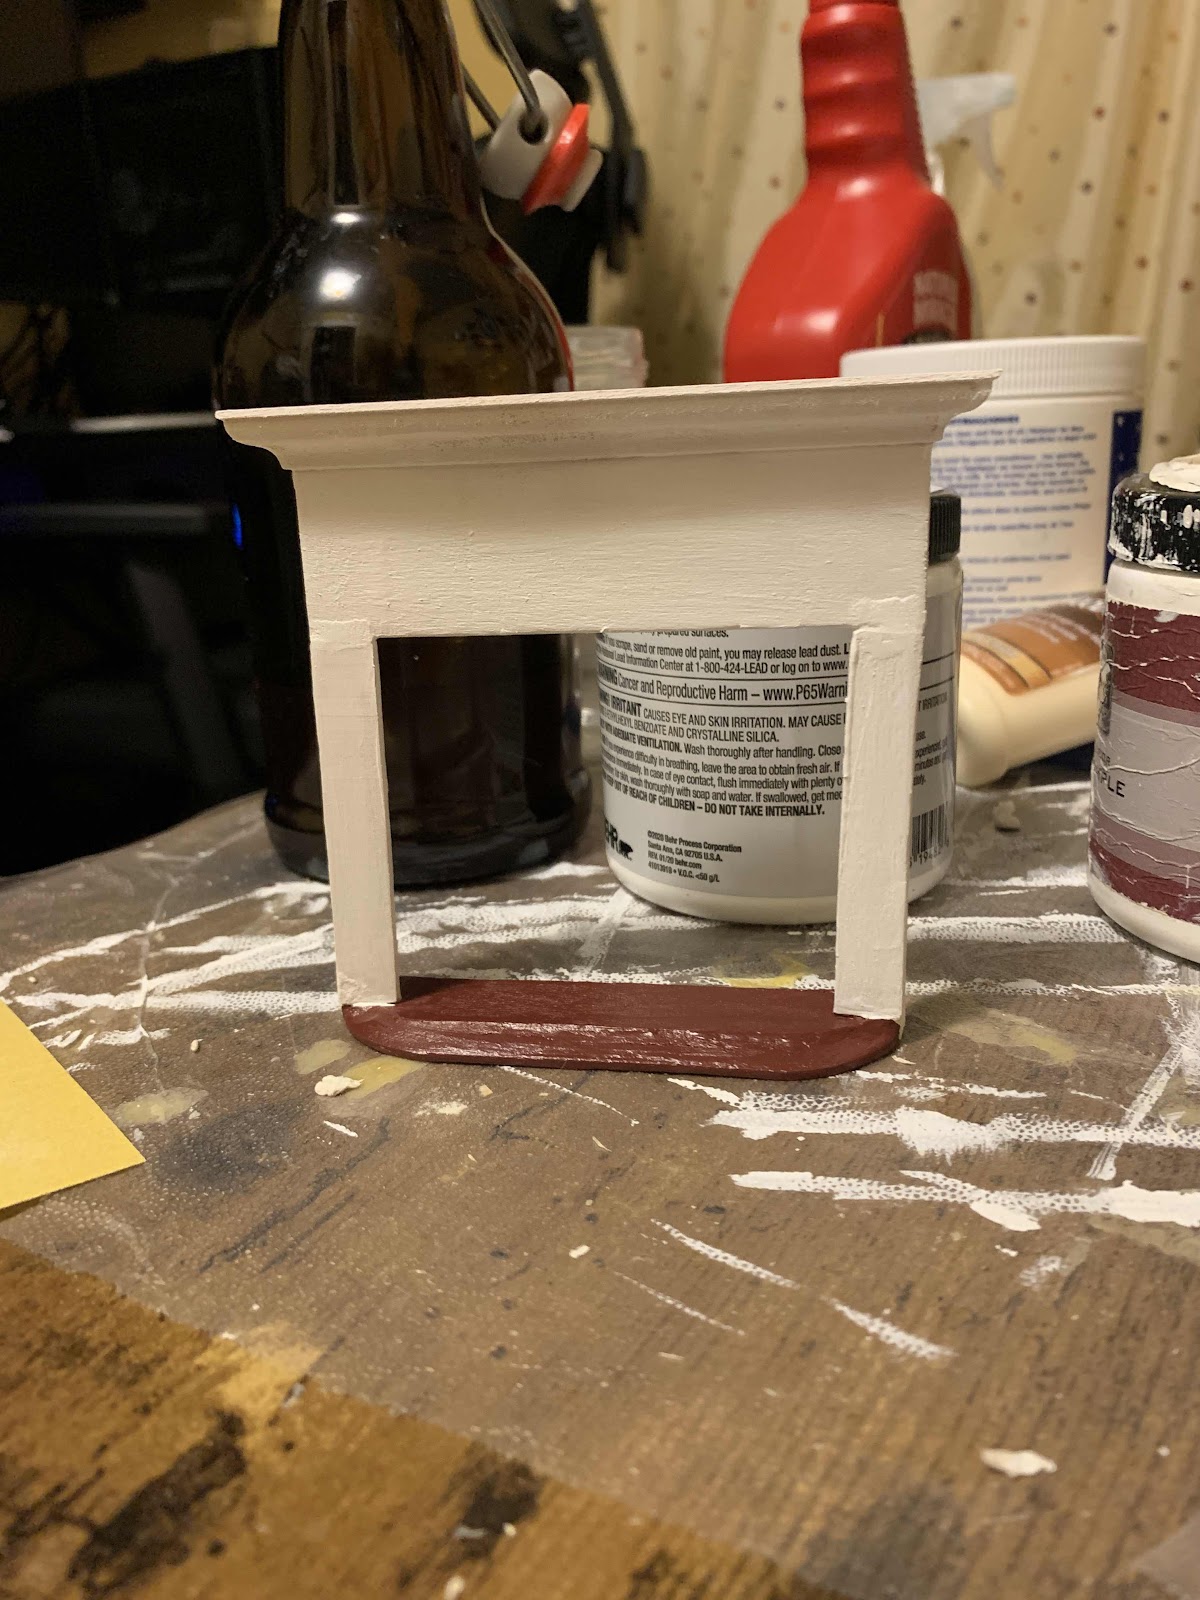


Next up was sketching the crest and building the fire


The crest is so tiny I could barely see it. I can’t wait for my new glasses to get here.


I disassembled the tea light and decided how it will fit in the space.


I painted it black so it would be more hidden.


I dropped some alcohol paint on a piece of plastic to simulate flames/glowing coals.


I secured the tea light with a couple strips of brick paper.


I crinkled the plastic and tried to fit over the tea light. Next time I will used a thinner plastic like maybe from a bread bag. This was stiff and not easy to work with.


Building up the twigs around the fire.


The husband said “That is a big fire.” The better to keep you warm my dear.
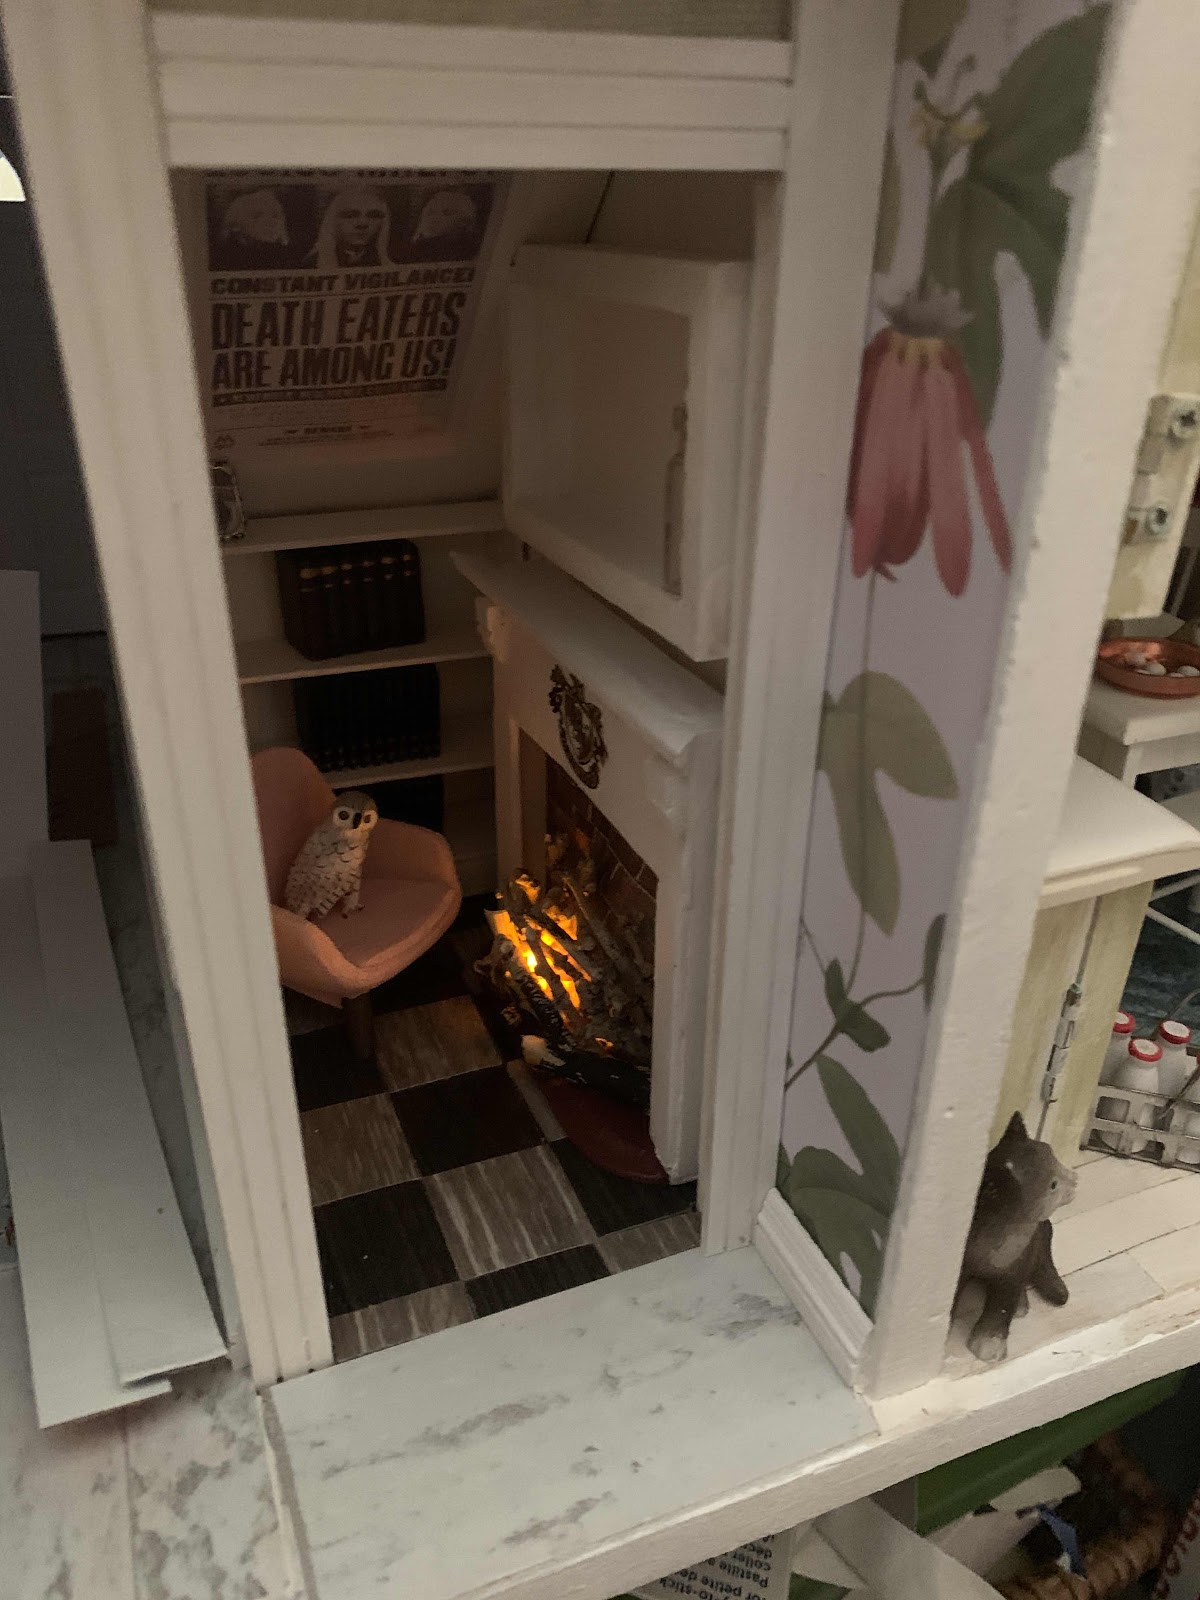

The finished fireplace!  Because the tea light was so bulky, the fire built around it is a bit bulky too. It still looks amazing! Just the thing to keep Harry and Hedwig warm this winter.
Peldyn

Thursday, April 22, 2021

Bookcase: The Dollhouse Saga

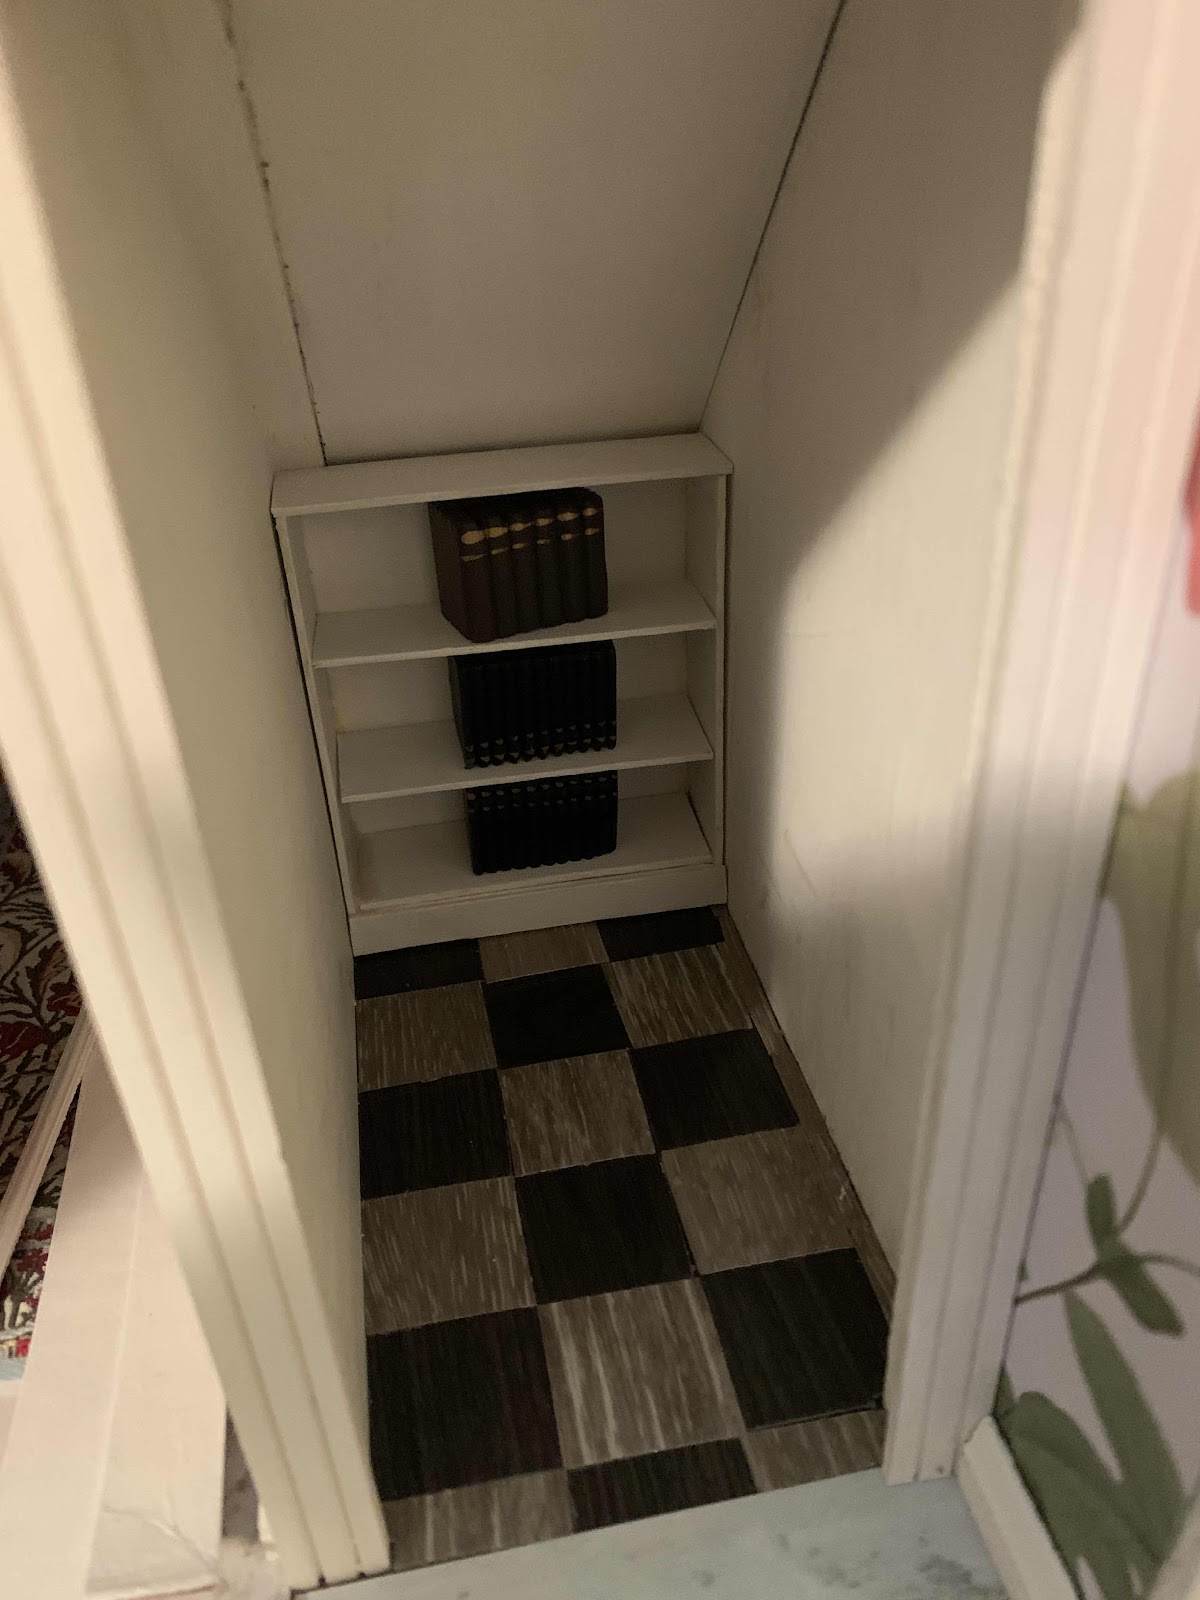
This small bookcase has given me more stress than anything else in this house. It is to fill in a space in a room that is very small and hard to work in. It had to be built in place because I wouldn’t have been able to maneuver it past the door. Also the front part of the room is narrower than the back. Very frustrating. 


I used jumbo popsicle sticks. Cutting them was a pain as they are made from some very tough wood. 


I did the back and sides and put it in place while the glue was only partially set so I could push the sides back a bit to get it in place. First I tried Elmer’s wood glue, but it kept falling apart. Next I switched to Aleene’s max tack adhesive and that worked much better.


Once that was set enough I added the shelves. 


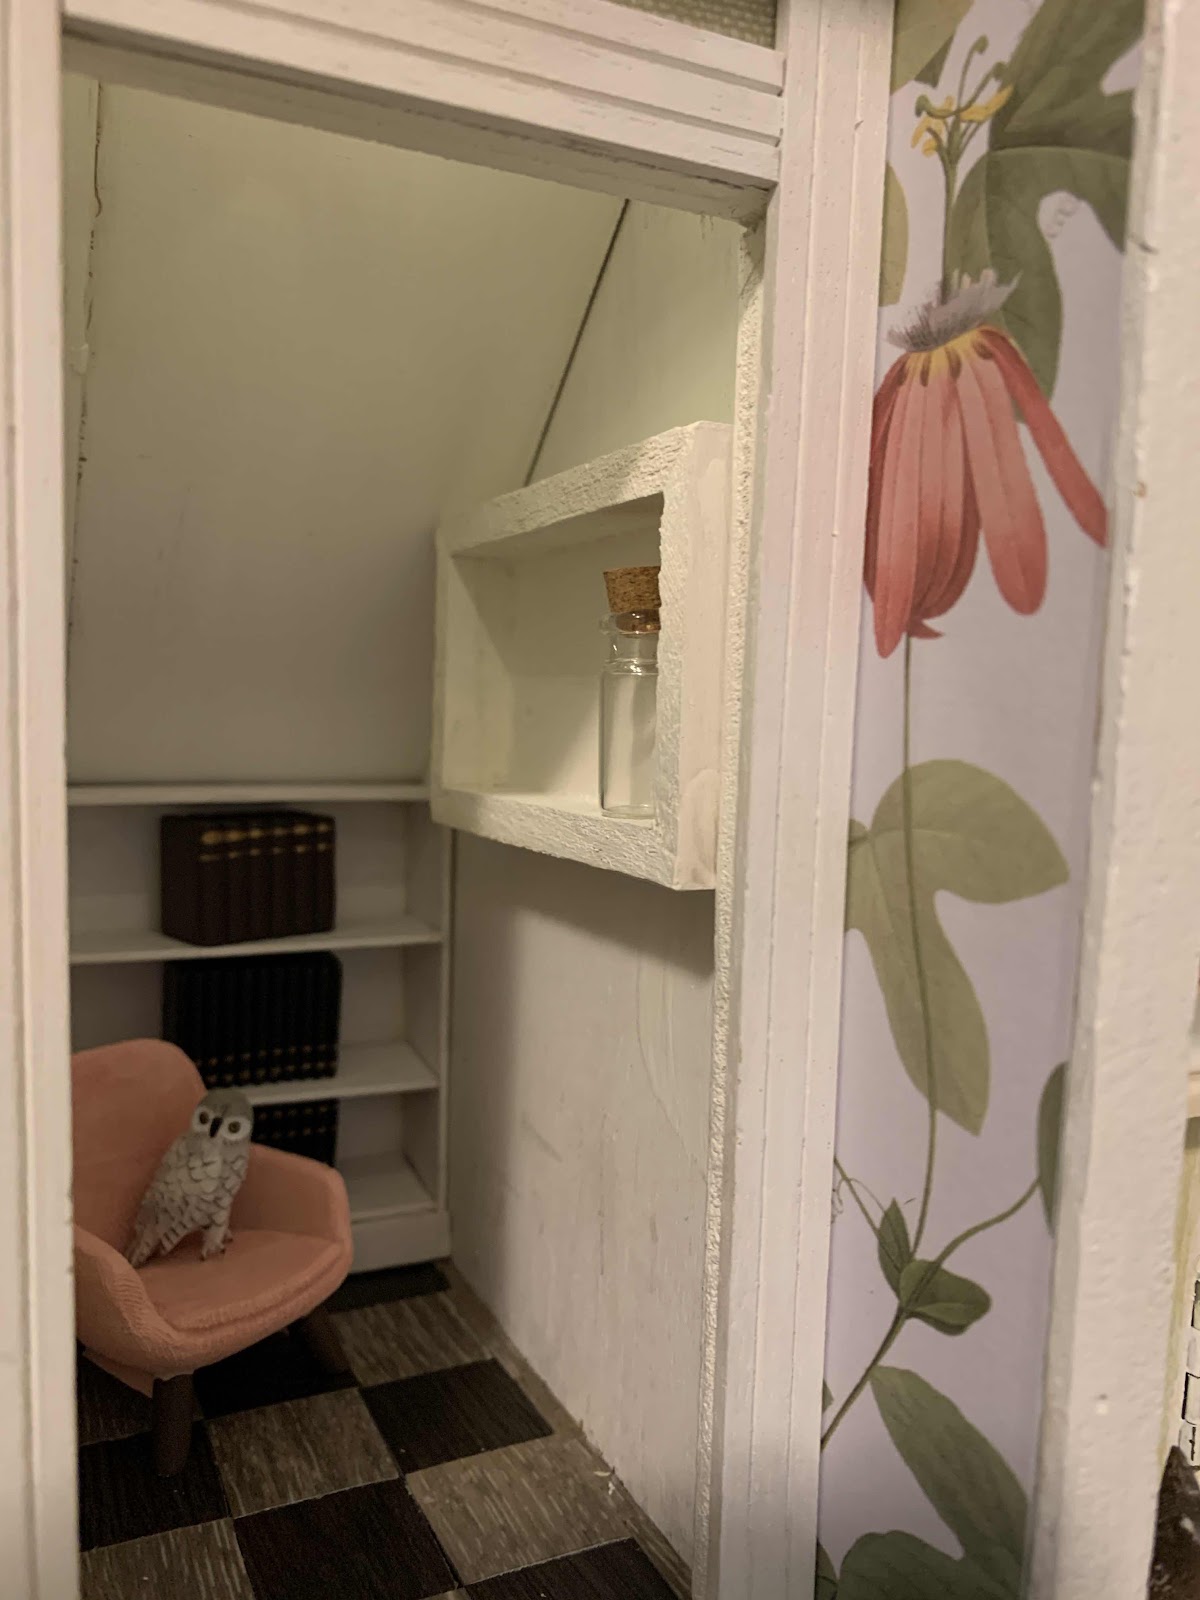
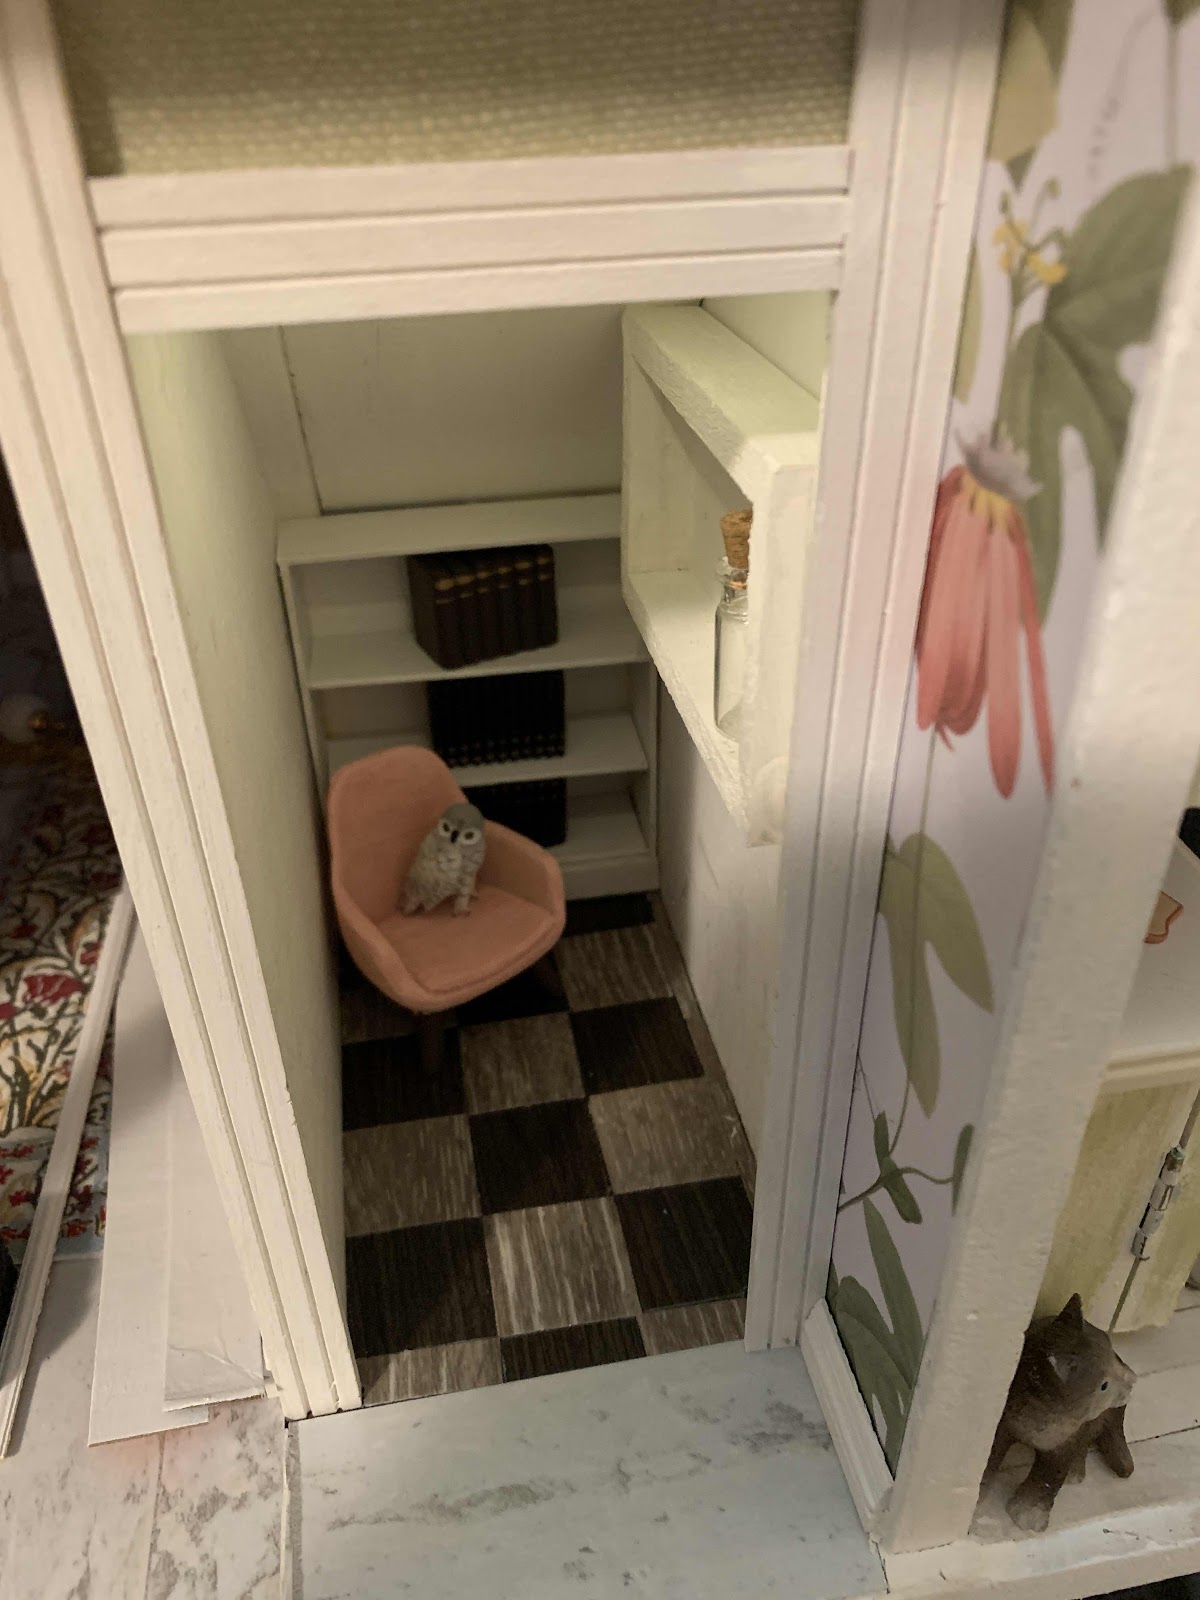
The little books fit on it very nicely. I ordered some Harry Potter items off of Etsy and I am making some items too.


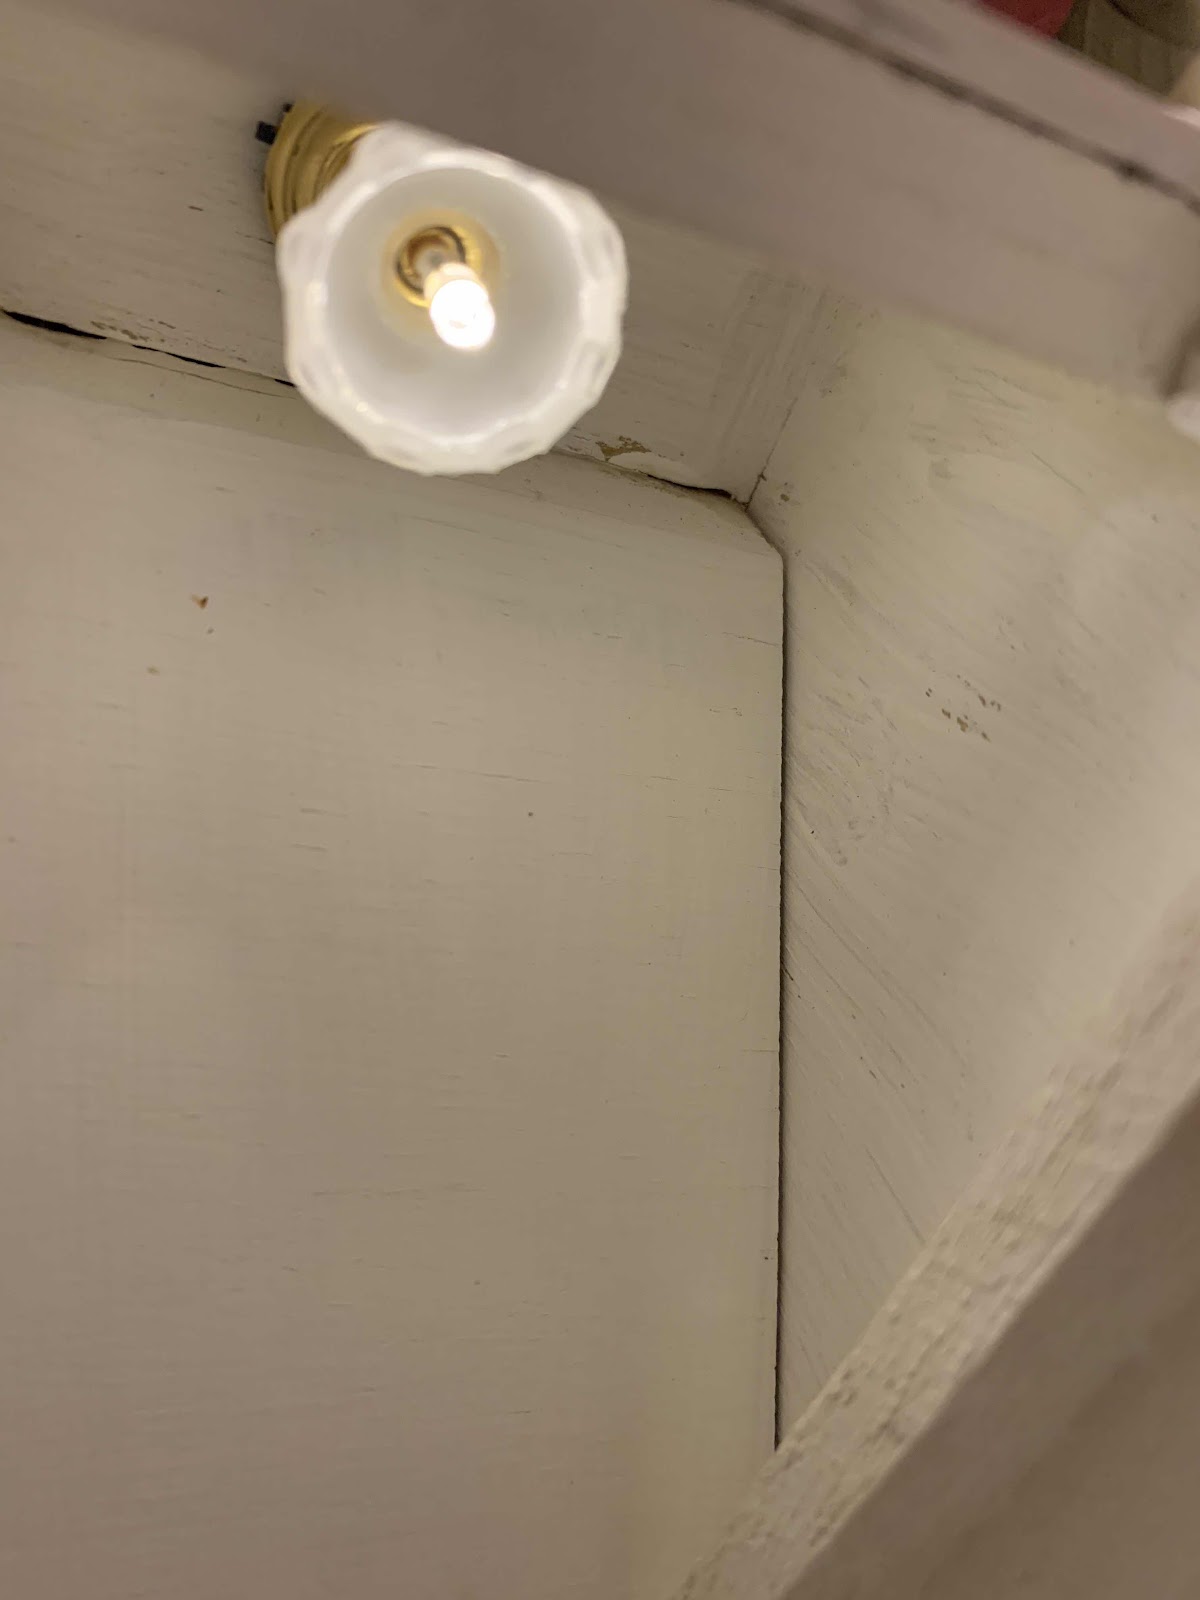
The small fireplace is going to go right underneath the potions shelf. That should be much easier to make as I don’t have to make it in situ. So much easier to put stuff together on my bench. I added the light so it won’t be so dark in there. The idea for this room is that this is how Harry would have remade the cupboard as an adult. Just a nice relaxing place instead of an awful, cramped, crappy bedroom. 
Peldyn

Wednesday, April 21, 2021

Don’t Be Square: The Dollhouse Saga

I decided to work on the little library under the stairs. I am still waiting on the new junction spices so I can’t start the music room without being able to do the wiring. 
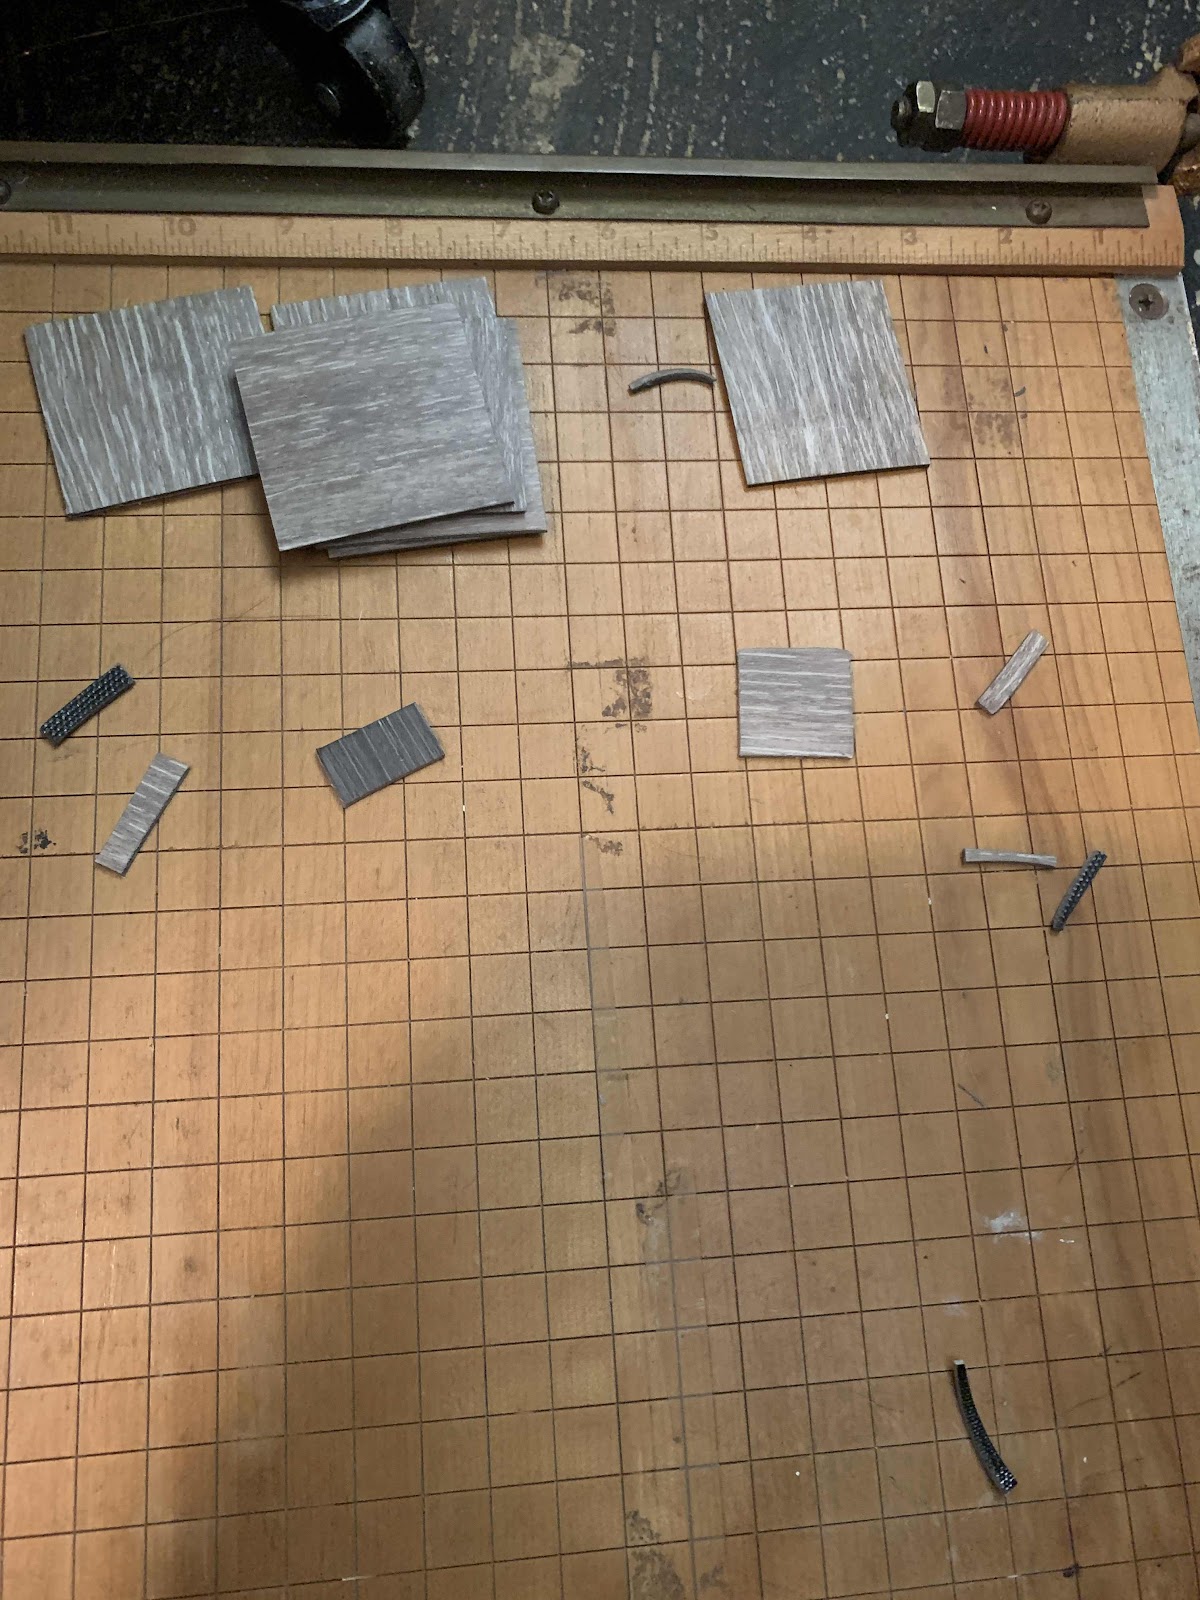
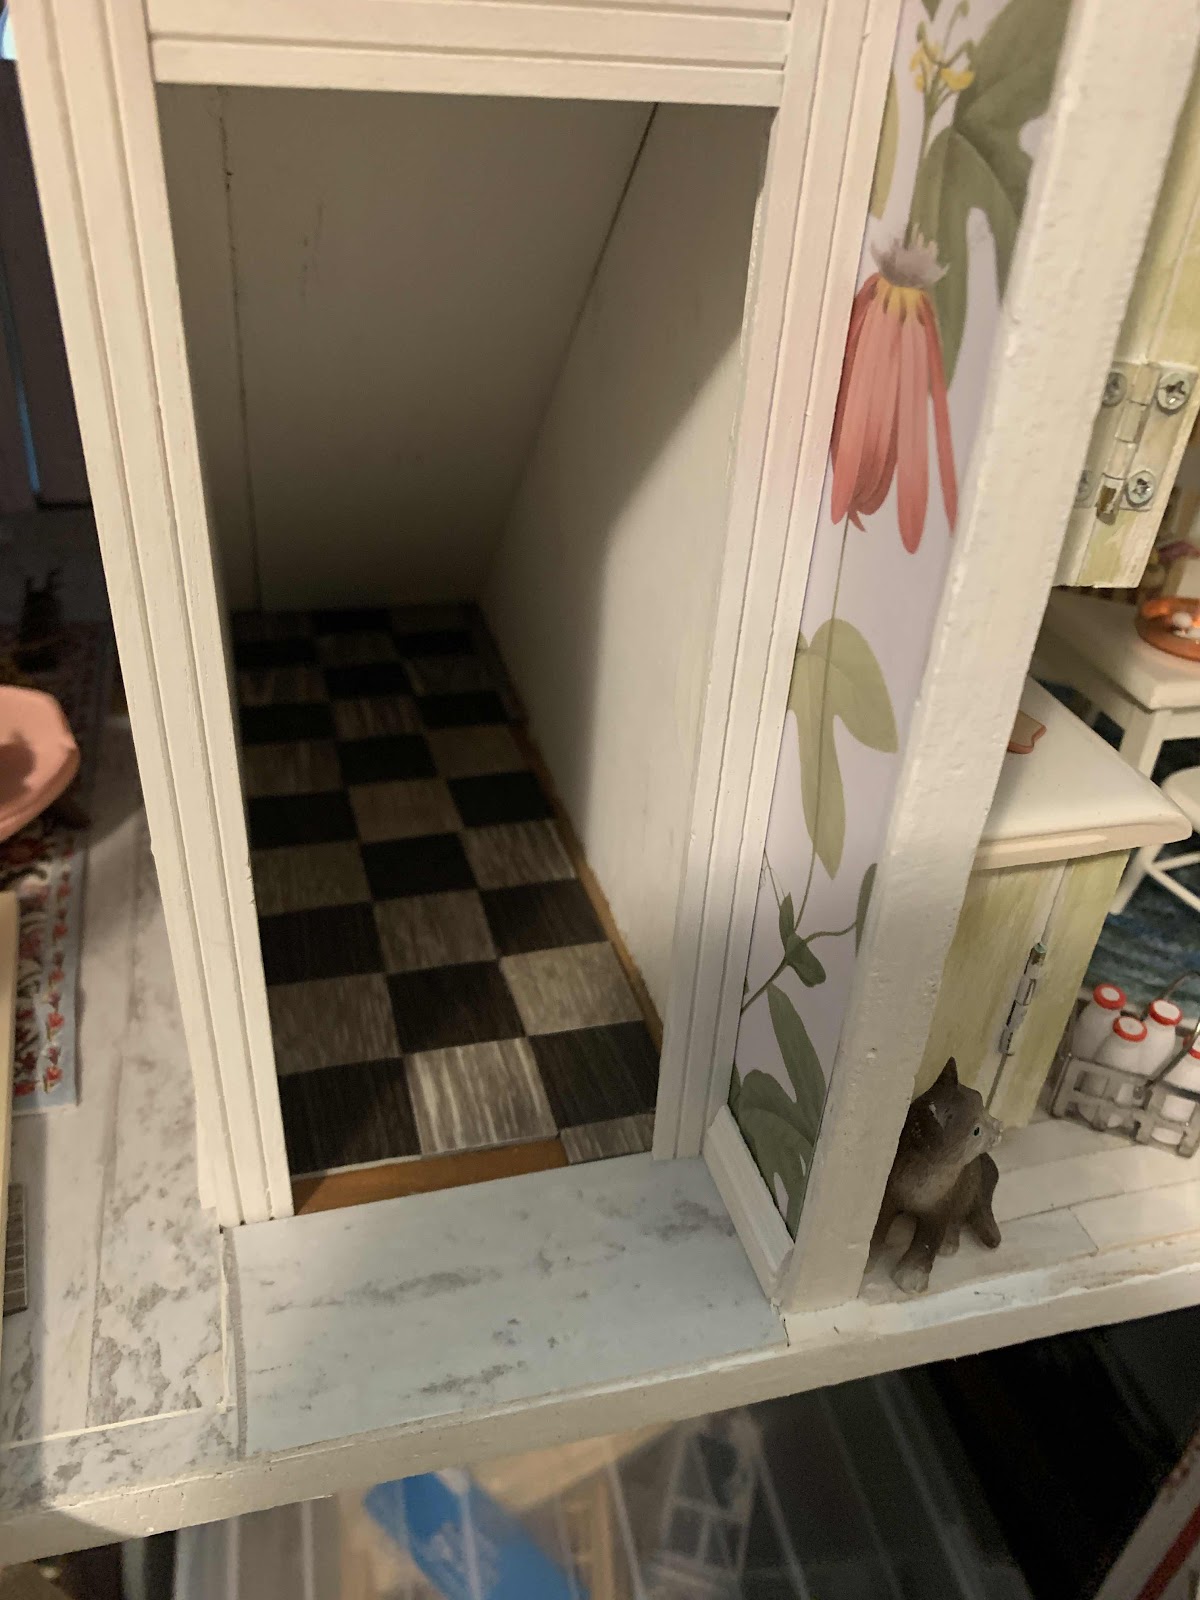
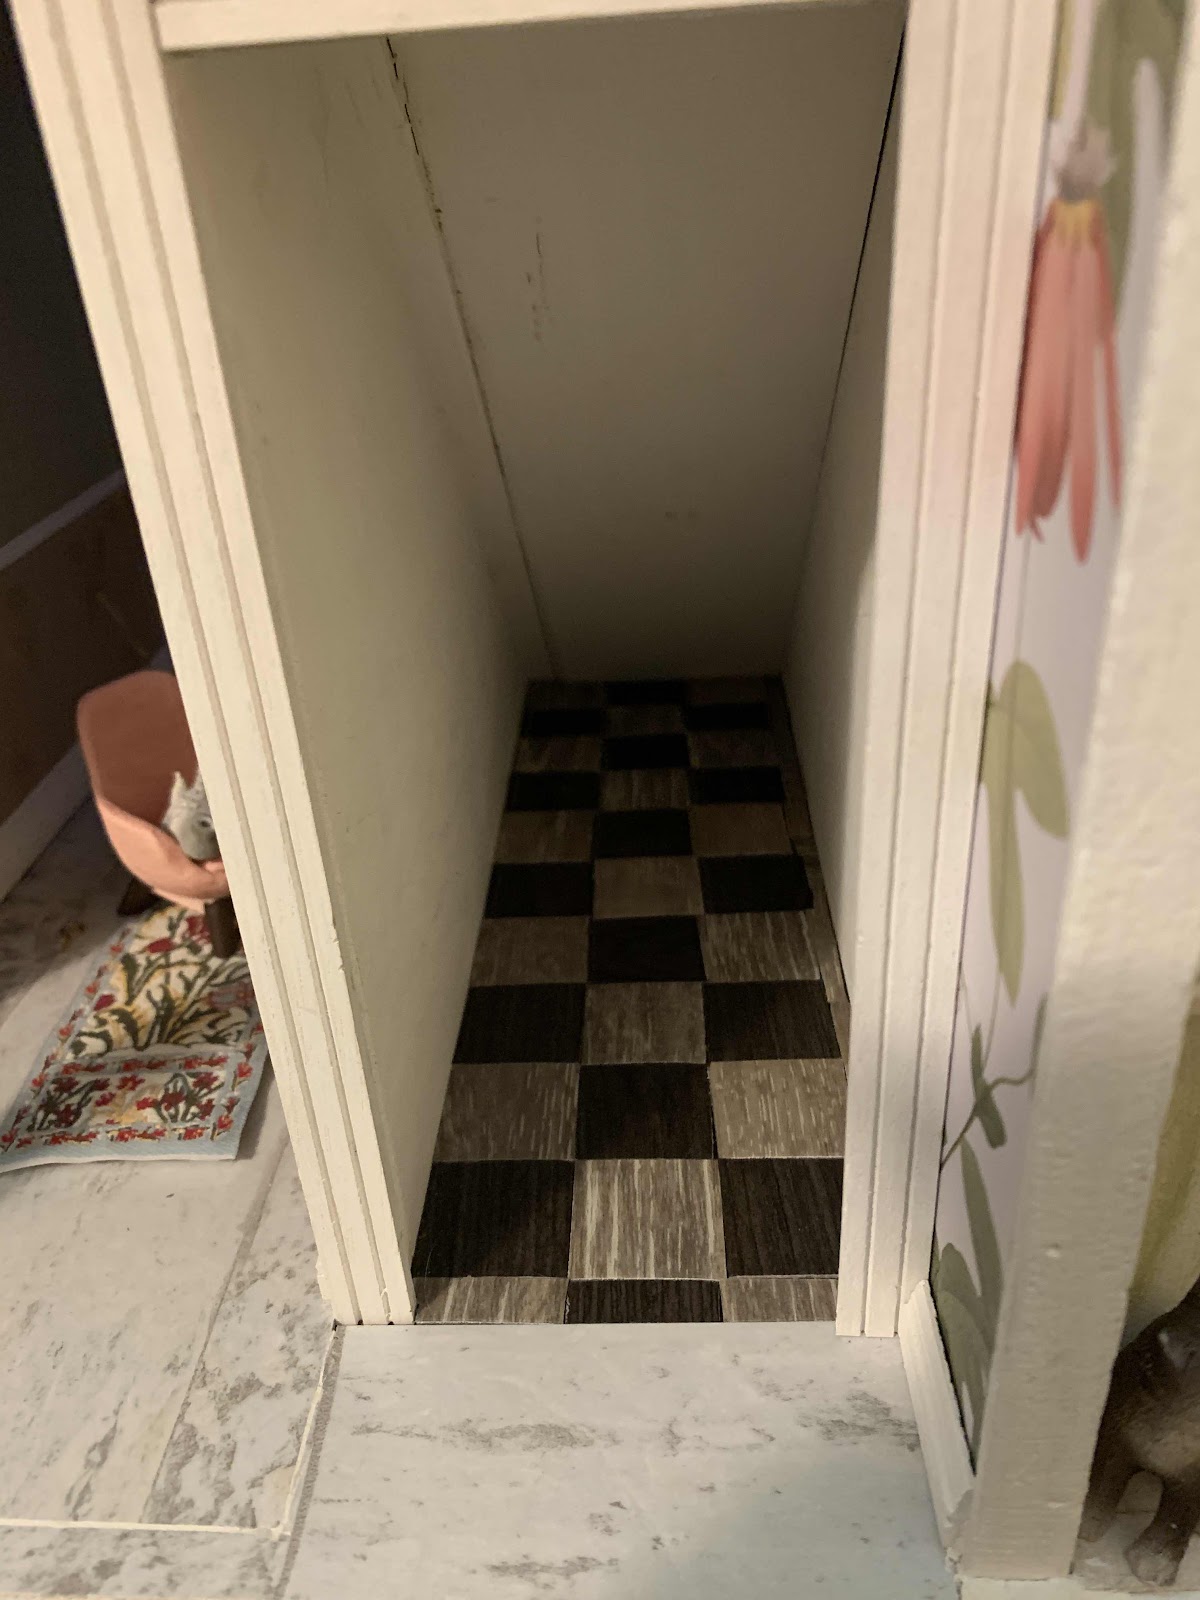
Back to the library. I had a few samples of vinyl tile from Home Depot. They don’t carry them anymore but I really liked the idea of using them for the floor. I cut them into 1” squares. They aren’t perfect as I only have a guillotine cutter that is heavy enough to cut the tile. 


I could say that cutting tiles was enjoyable, a zen experience, but it wasn’t. It sucked eggs. What was fun was putting the tiles into a pattern.


I did not have enough of the dark tiles so the right edge was filled in with bits of the light tile. It will be covered by a narrow, thin fireplace so I am not worried.


I have a list of things I still need to do like the bookcase that will fill in the end of the room, the fireplace, the little cupboard shown here, quidditch posters, potions, wand, portraits of Dumbledore, Lily and James, and whatever else I think of later. I am thinking maybe a perch for Hedwig would be nice. What do you think I should add to the room?
Peldyn
Tuesday, April 20, 2021

Putting Up Walls: The Dollhouse Saga

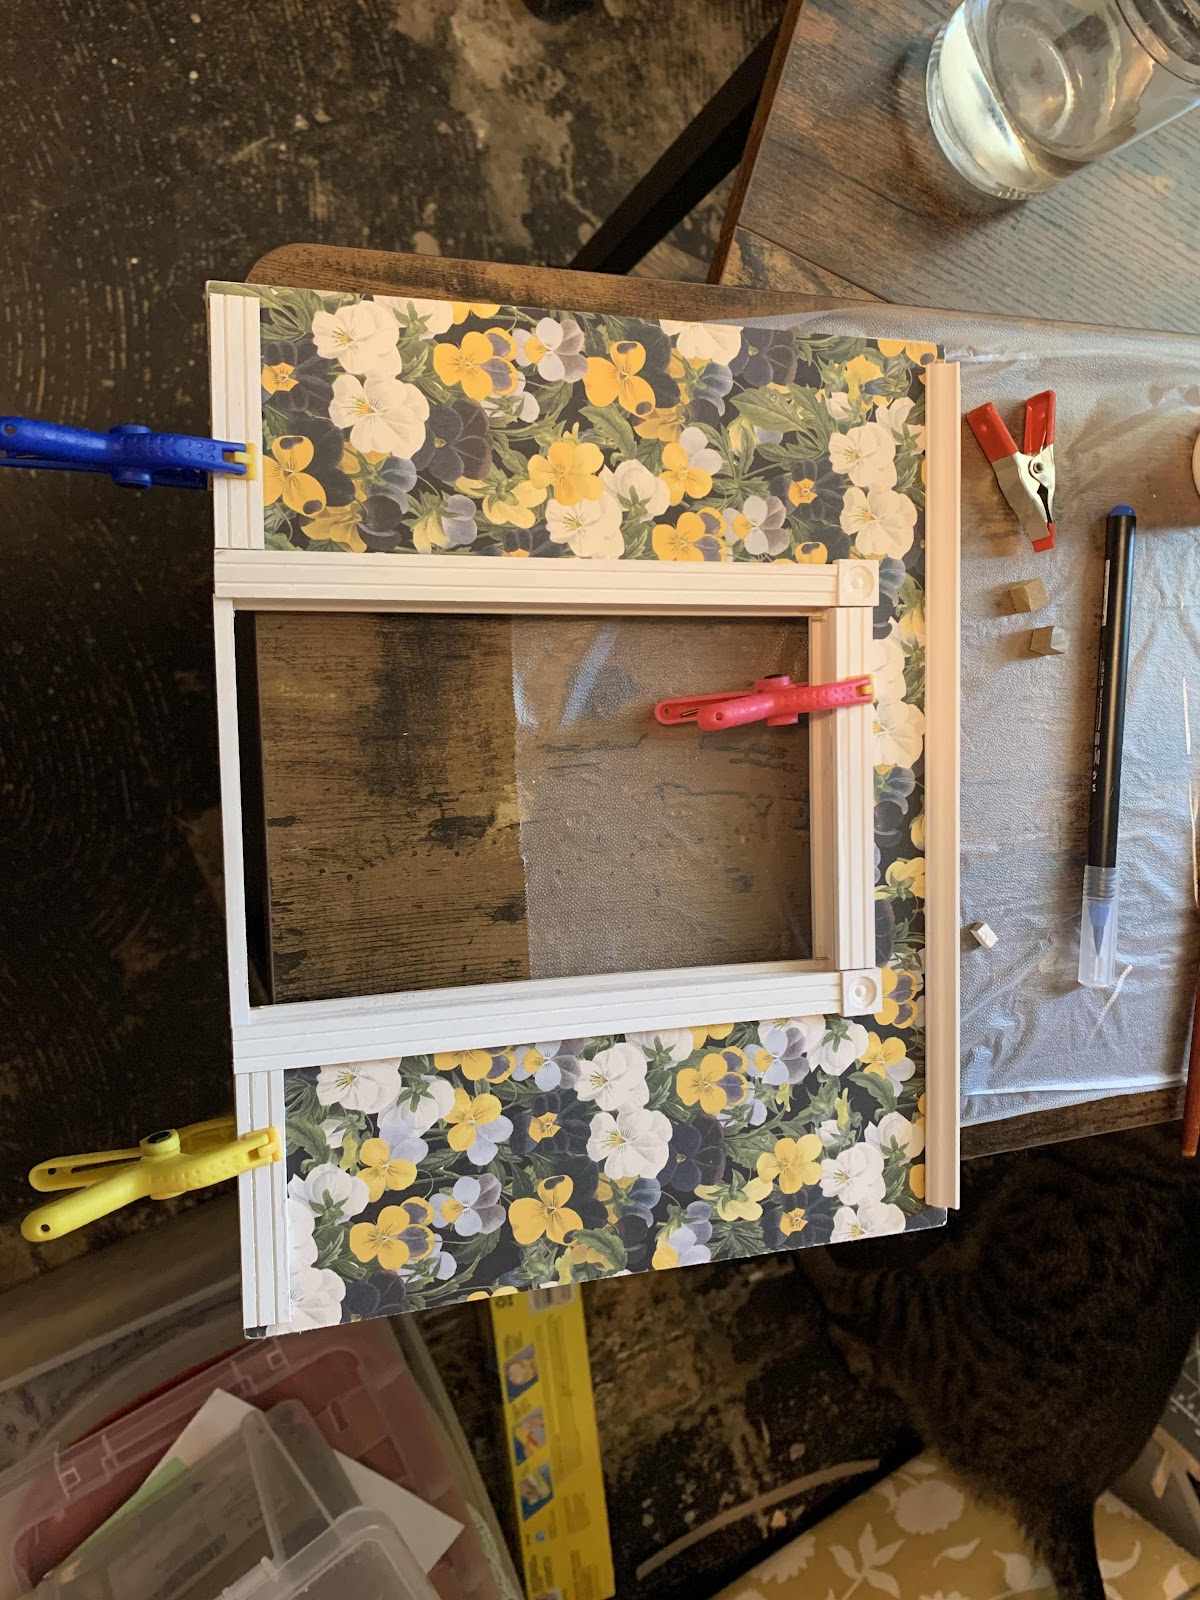
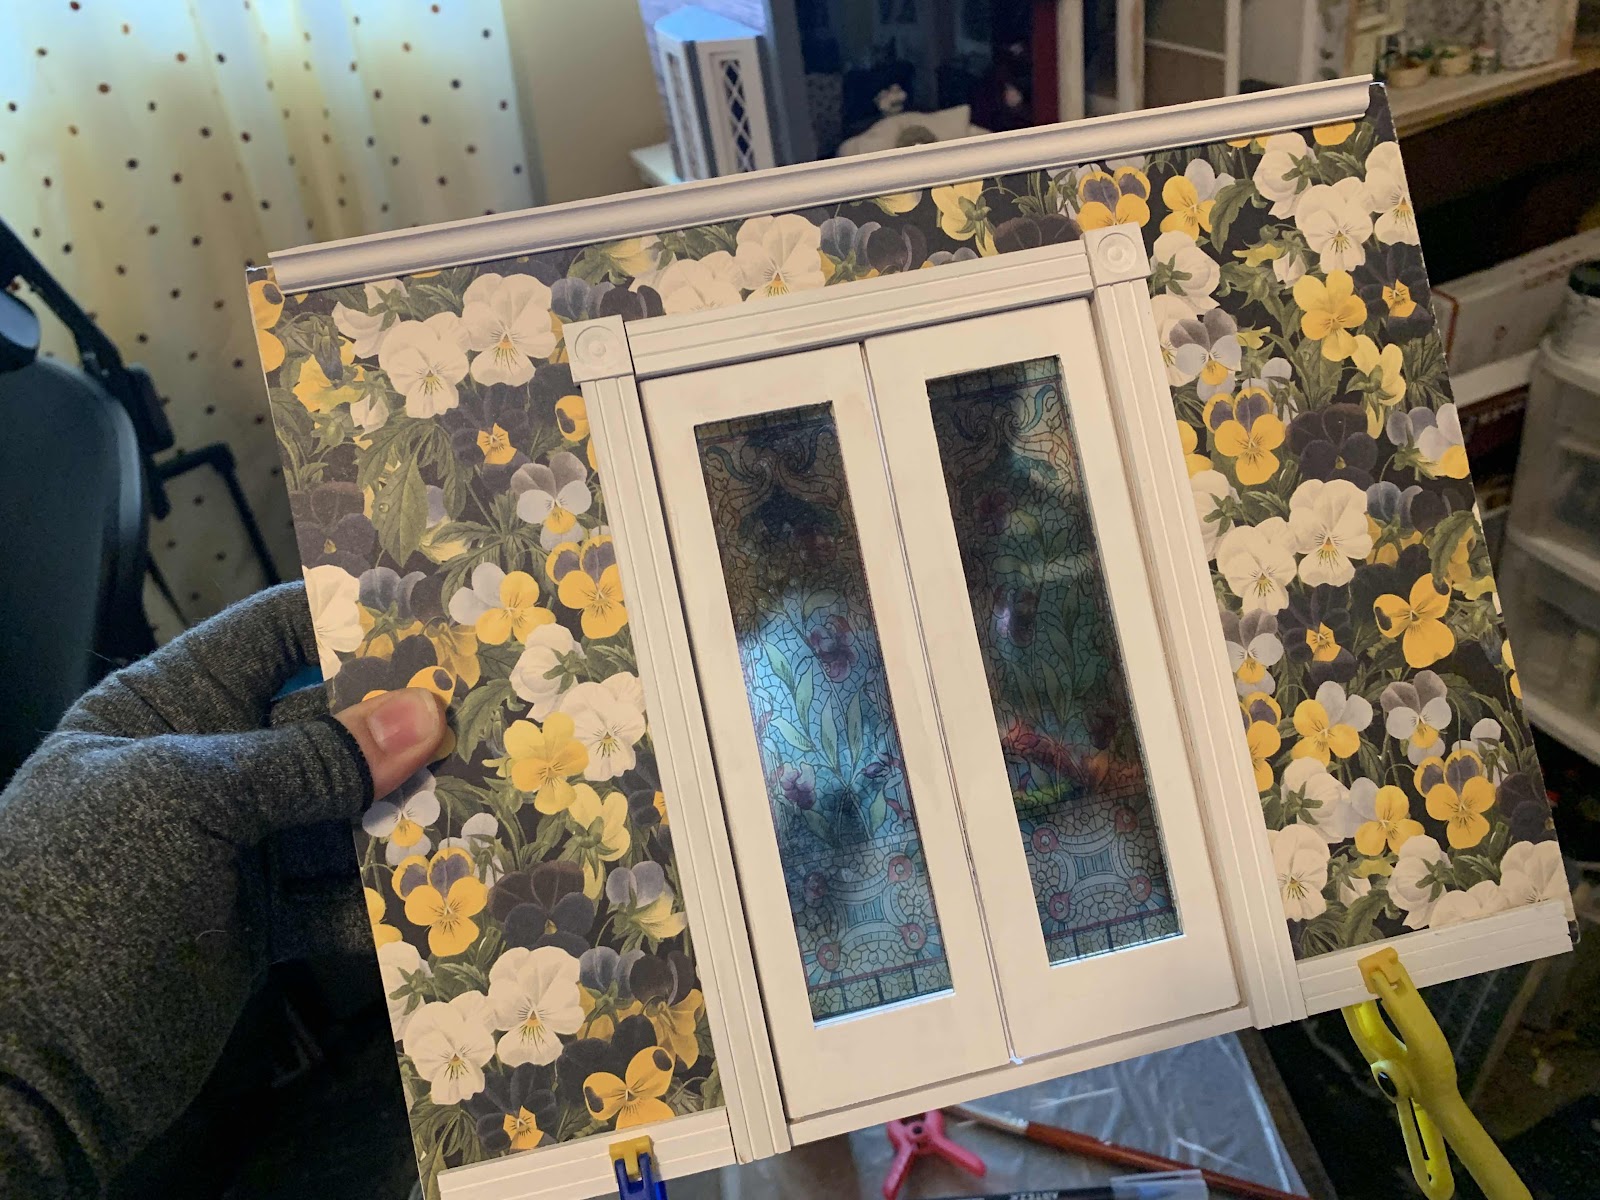
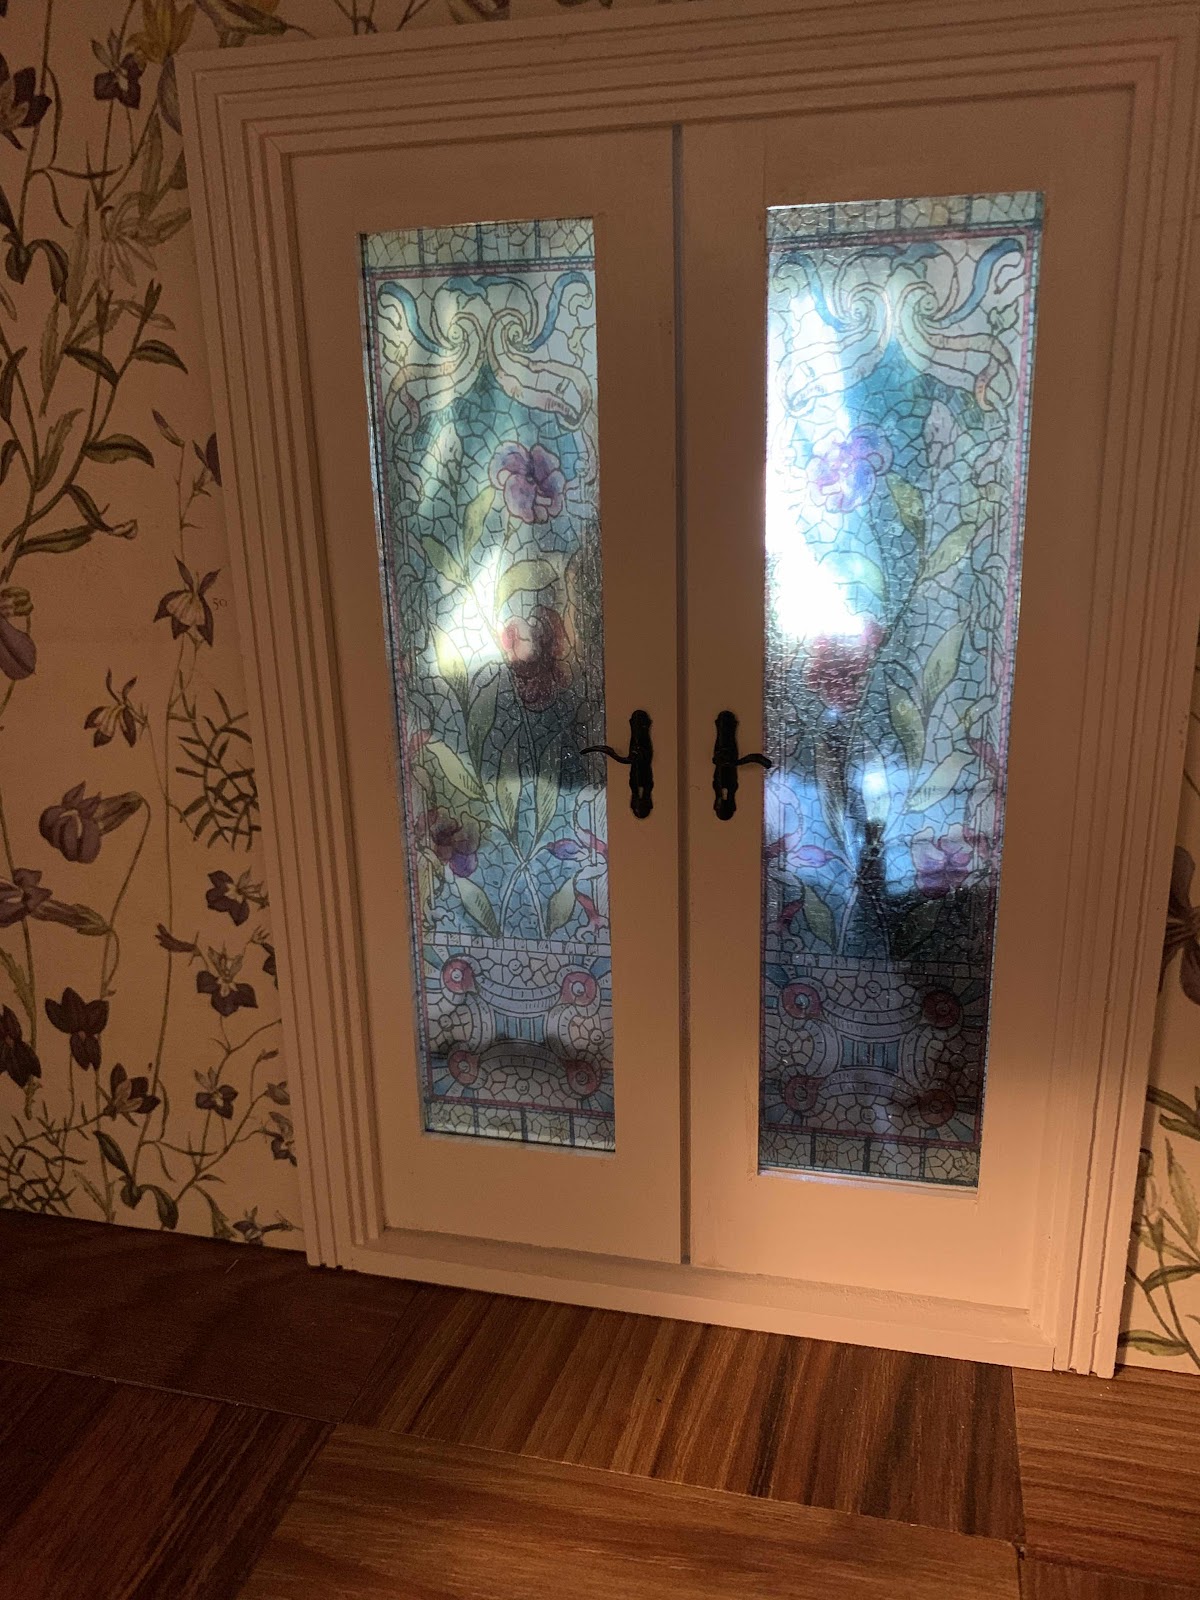
The second floor bedrooms are divided rooms. The dollhouse is quite deep and there are walls dividing each big room into two. I was excited to find that double French doors fit perfectly in the doorway cut in the wall.


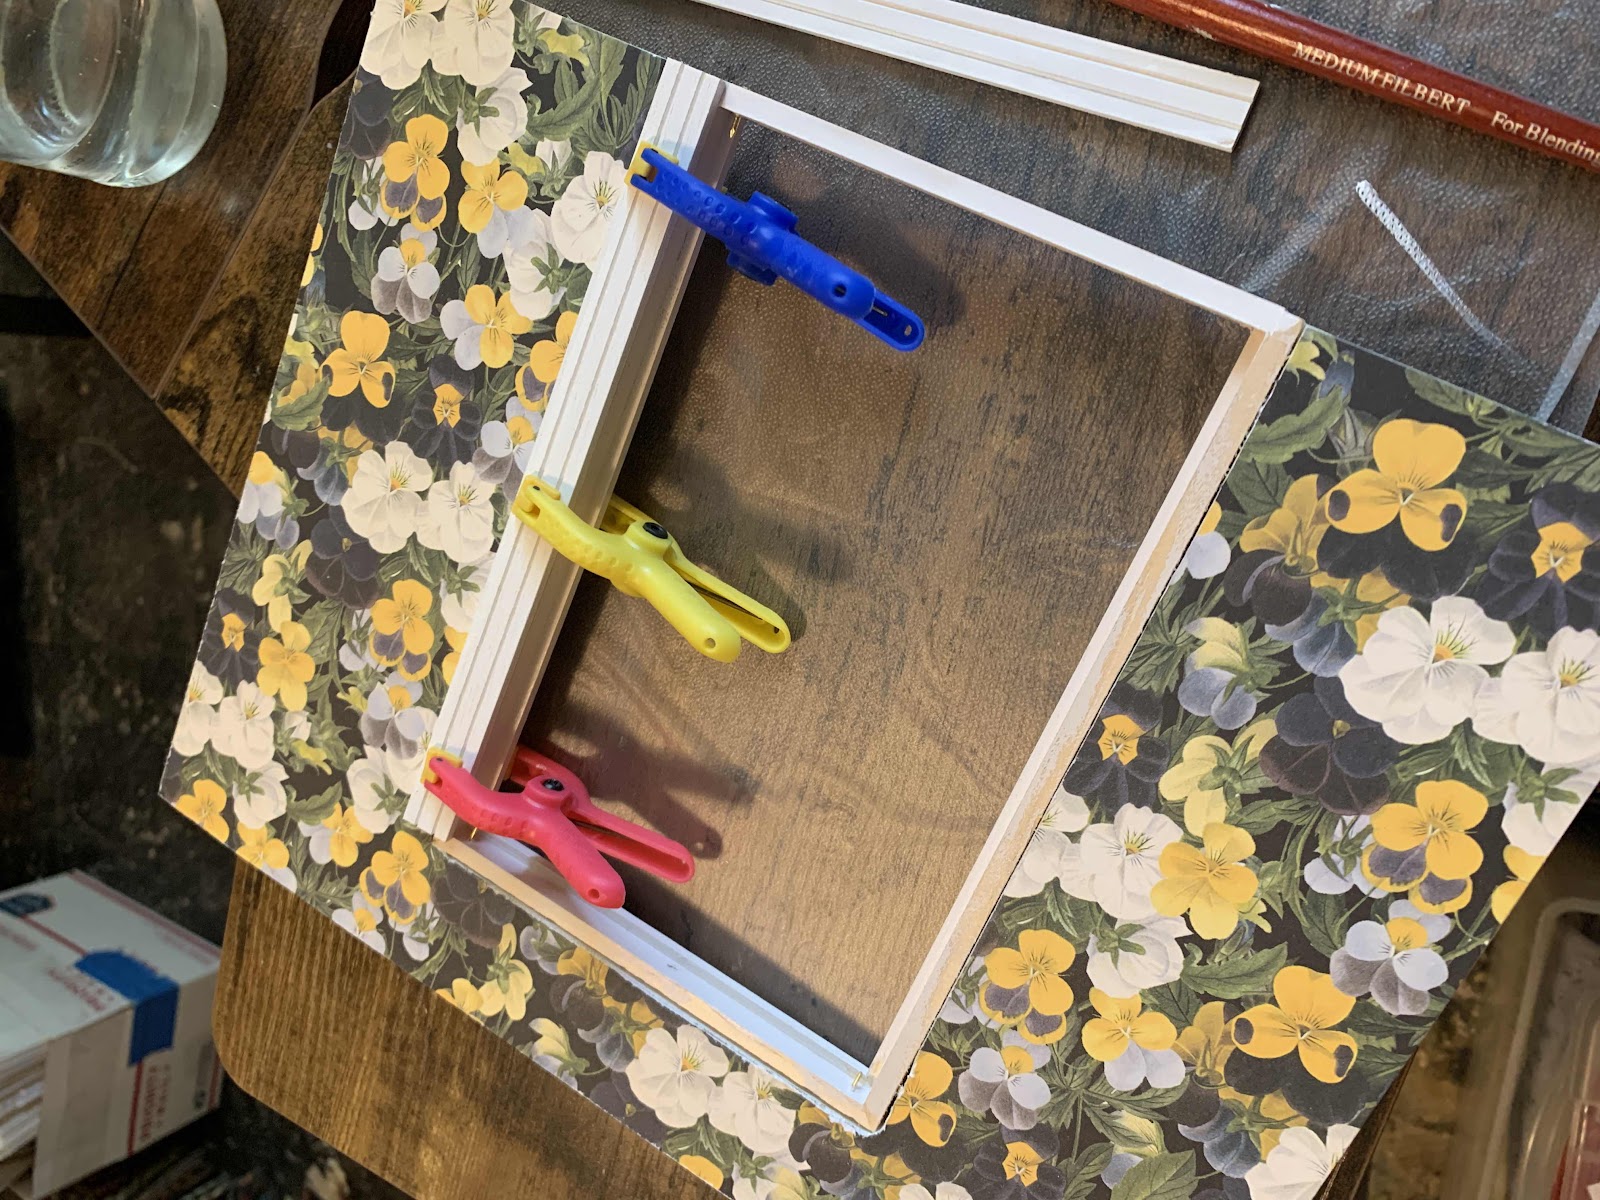
So I glued in the door frame and then glued on the trim
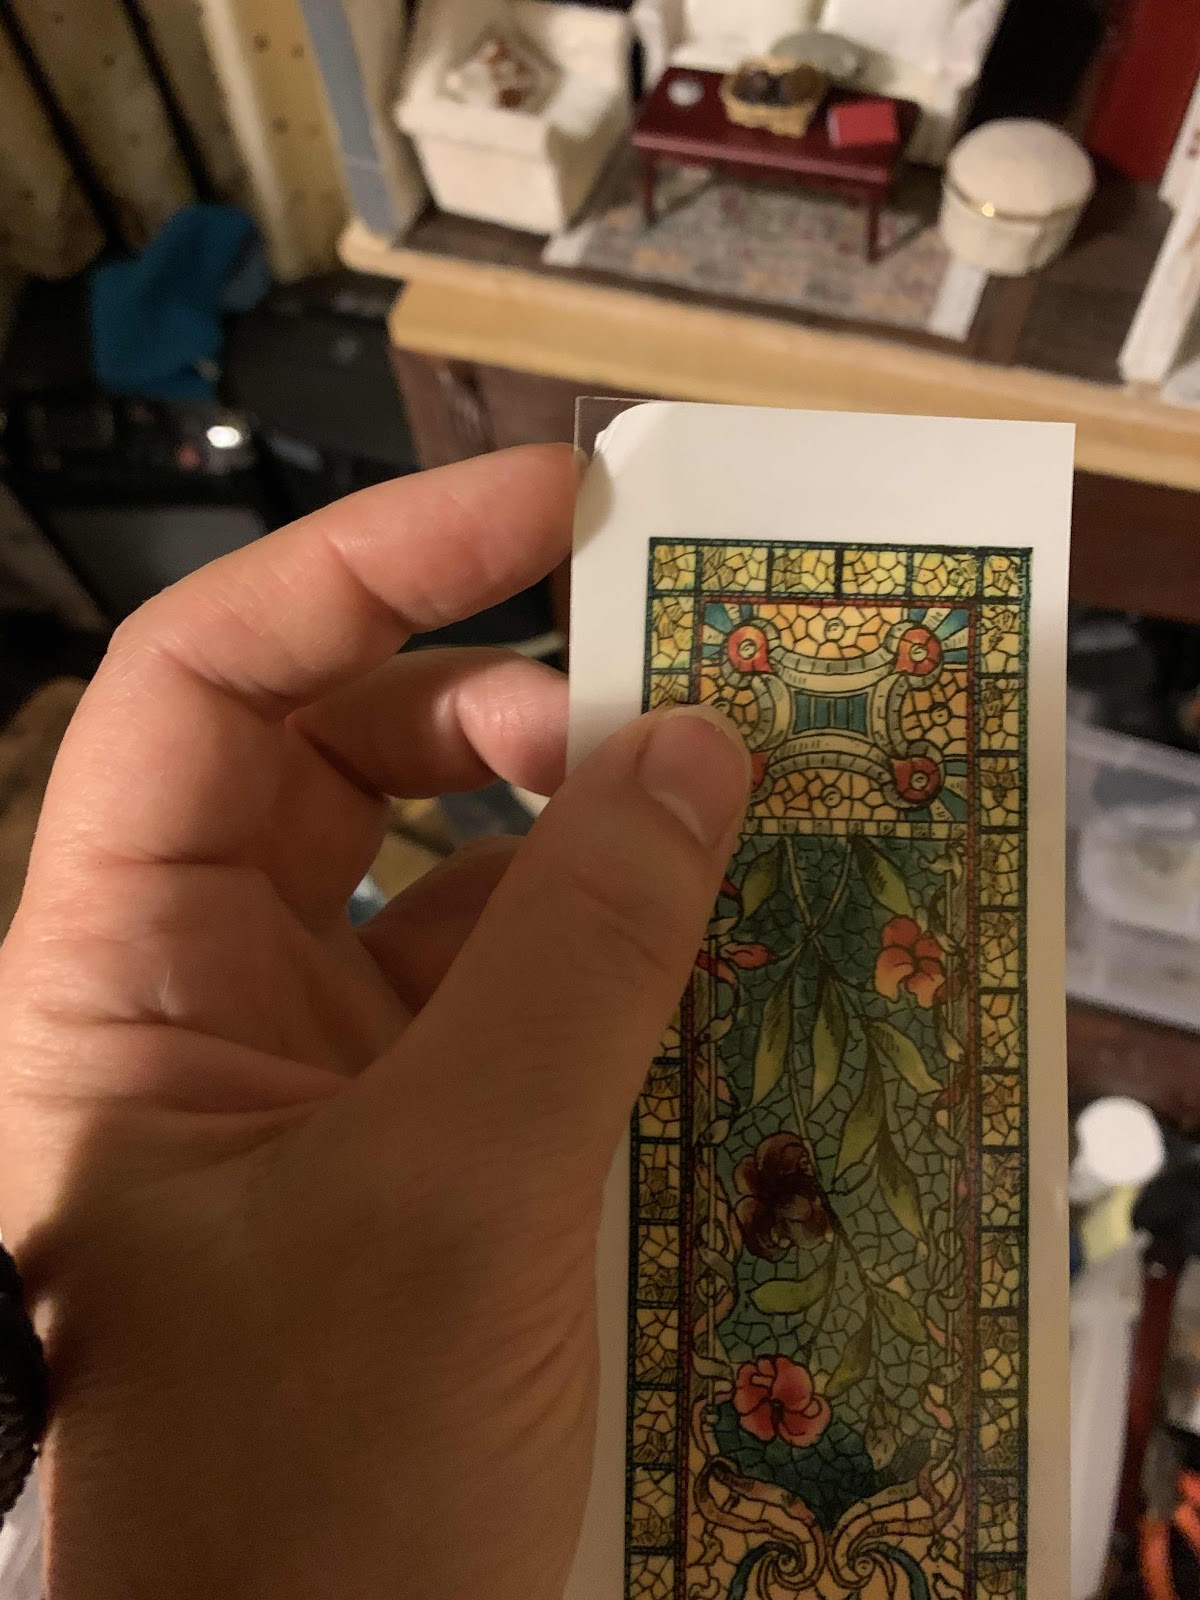
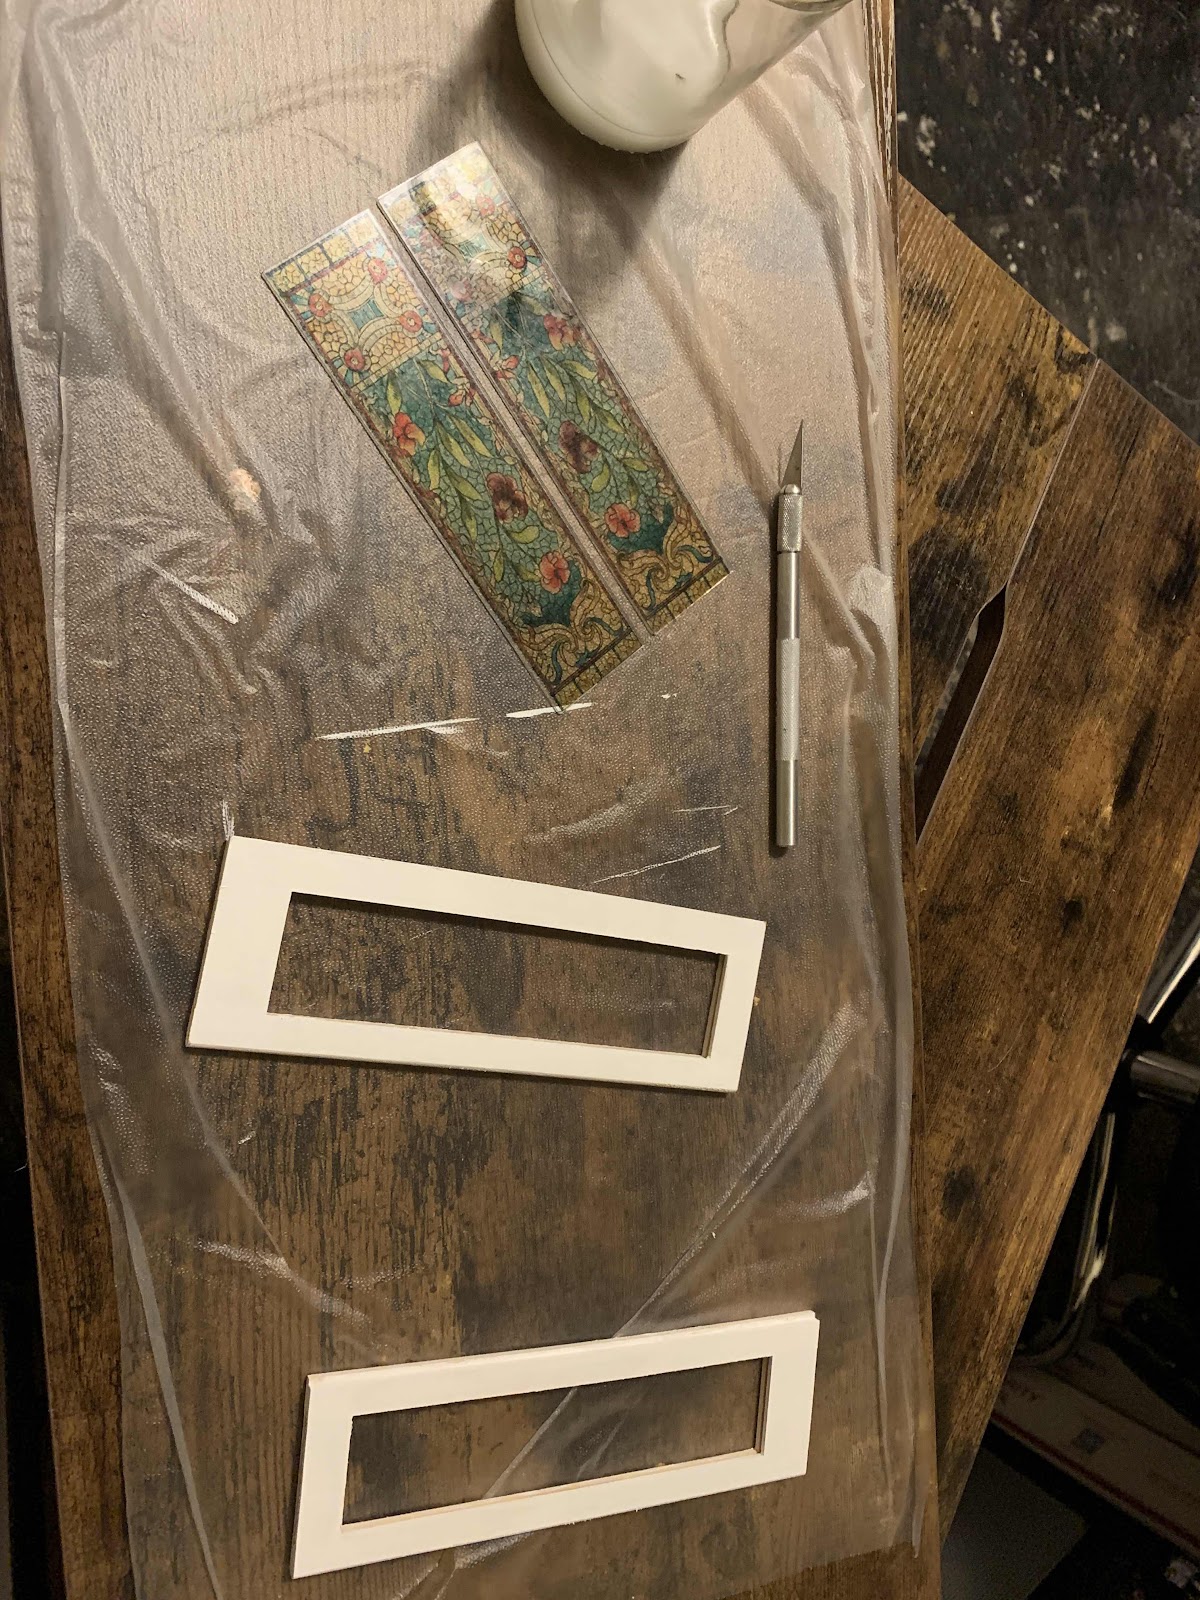
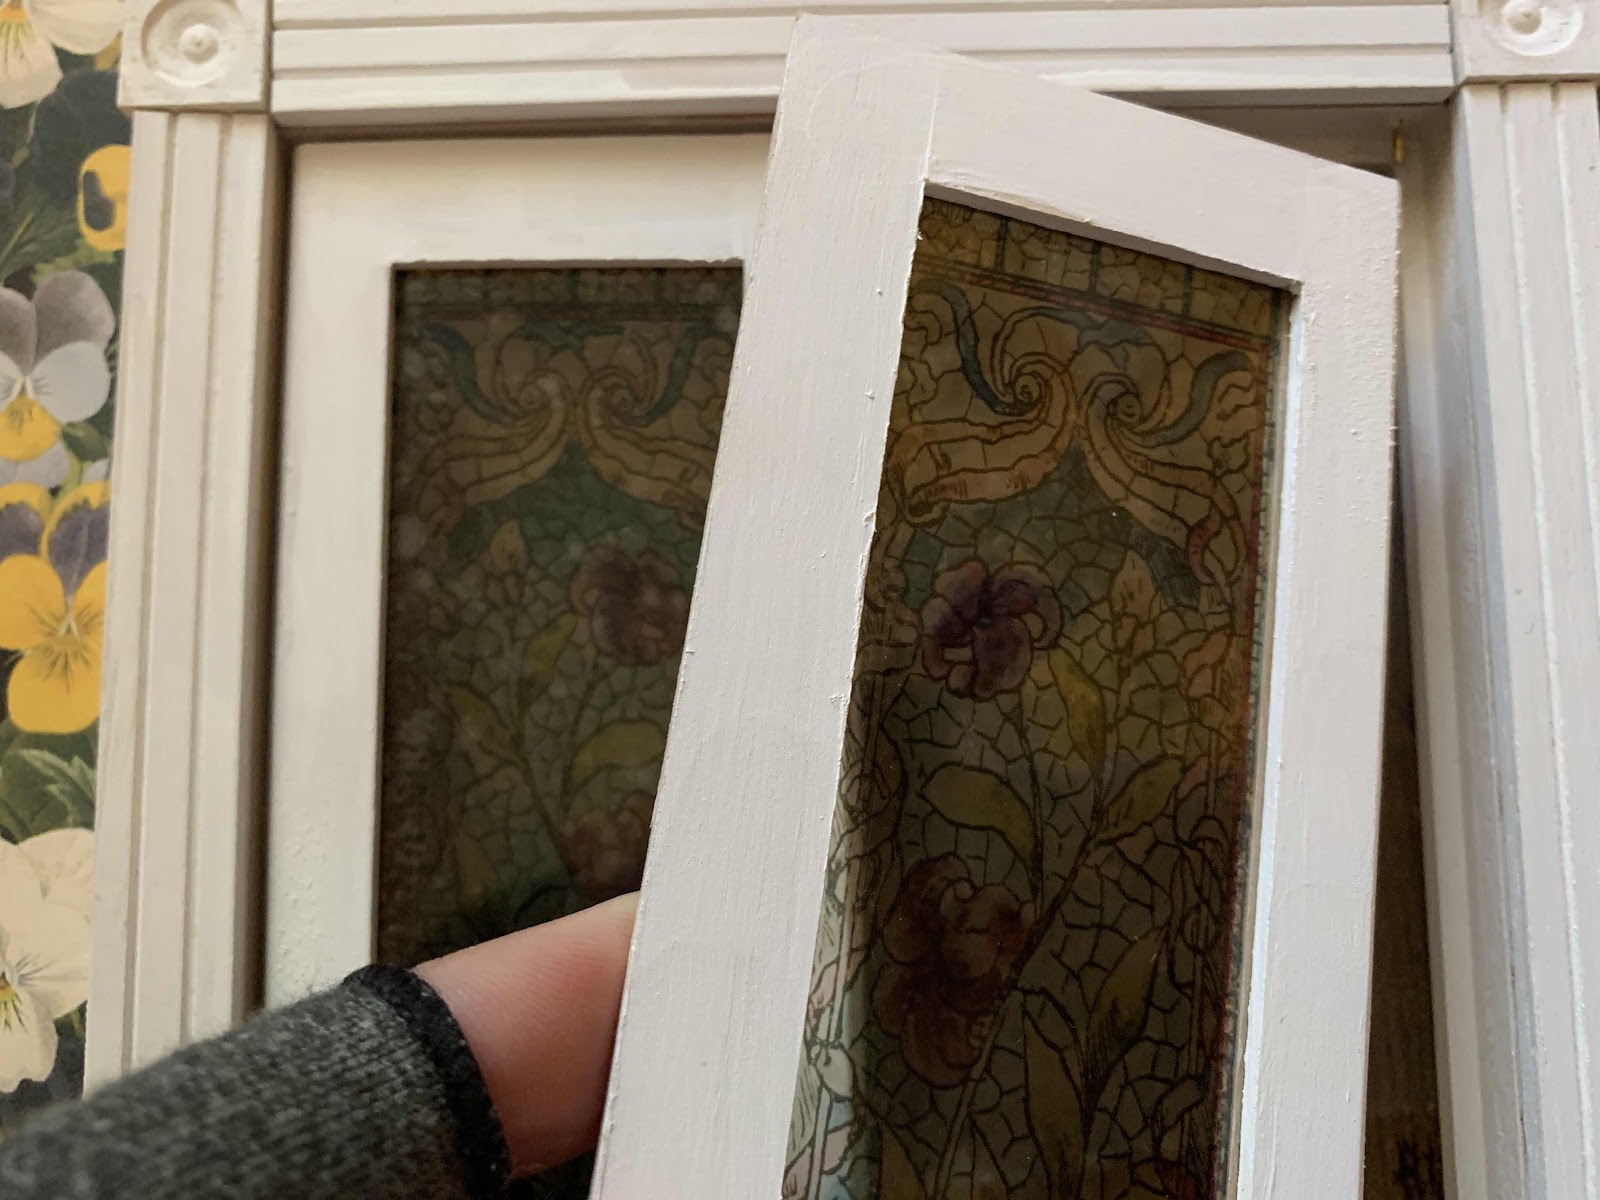
If this was a real B&B then the doors would not be see through. I decided to use faux stained glass decals. The flowers were a bit too pink so I used a marker to make them purple 


Once all the trim bits were dry I set the wall in place. I ended up having to use a rubber mallet to get it to fit flush with the crown moulding and baseboard in the far bedroom.


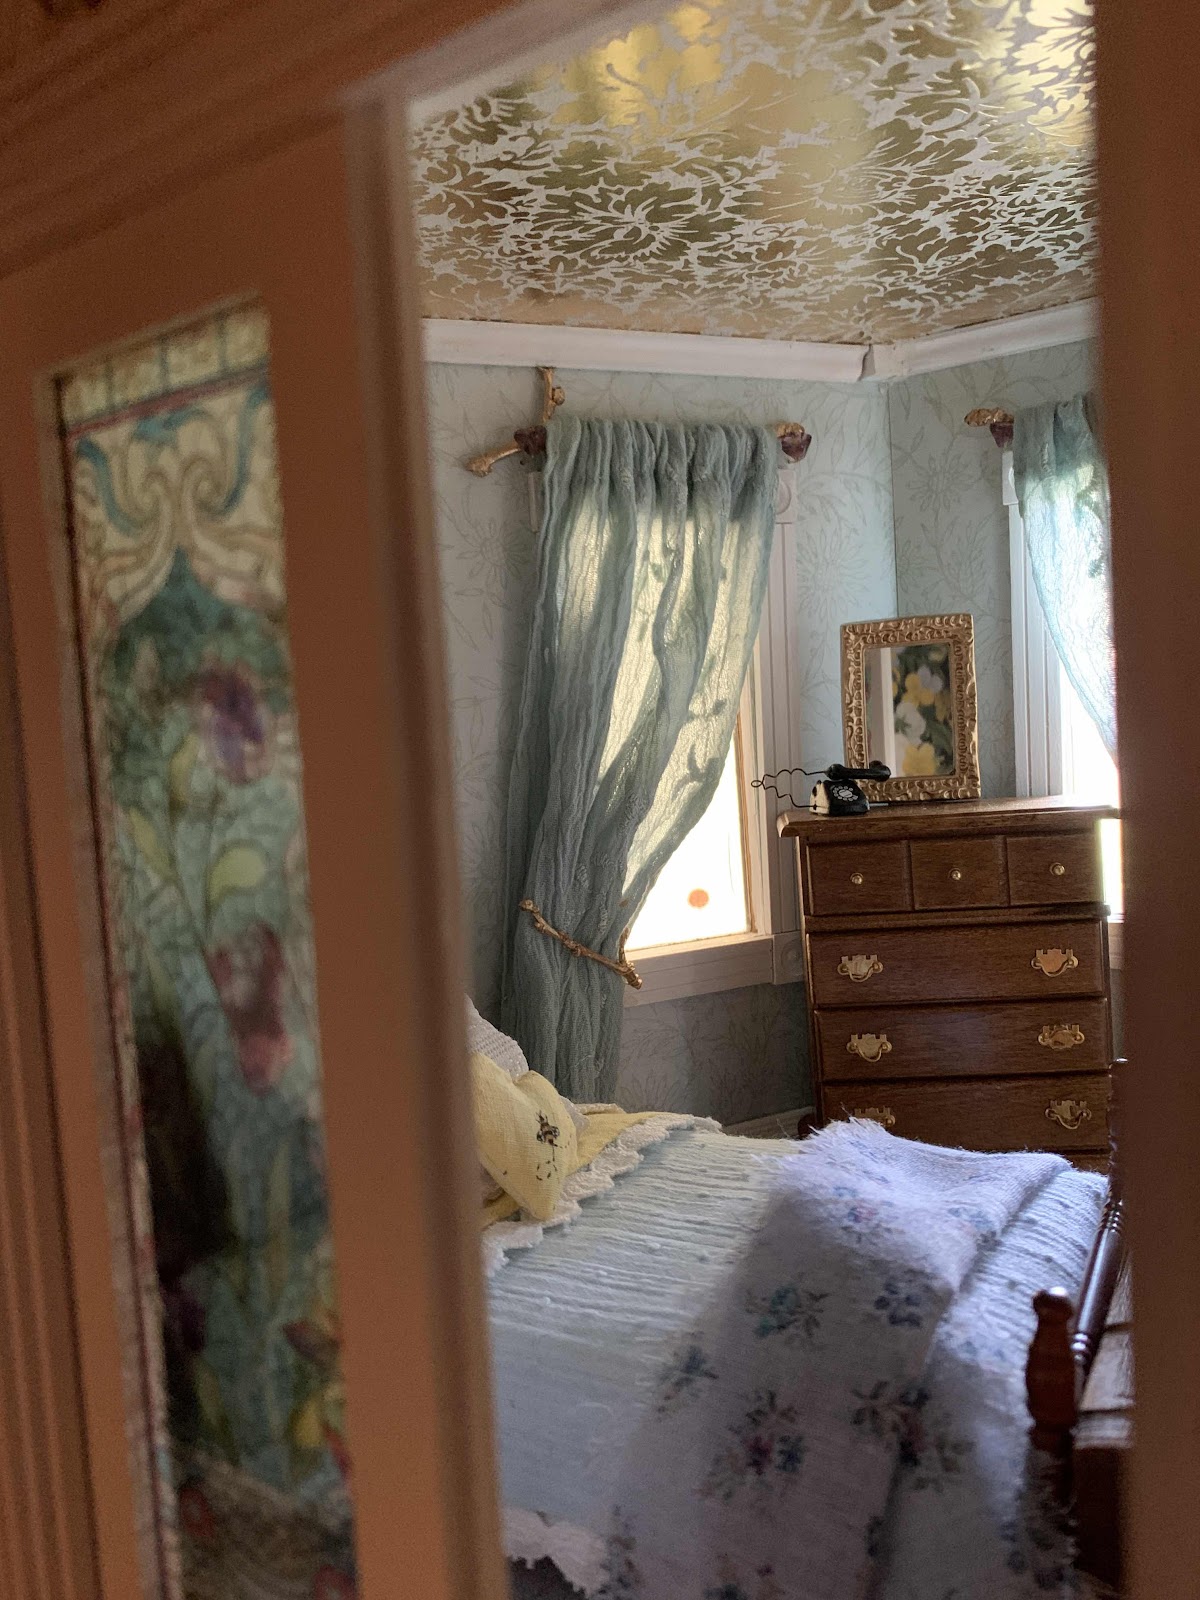
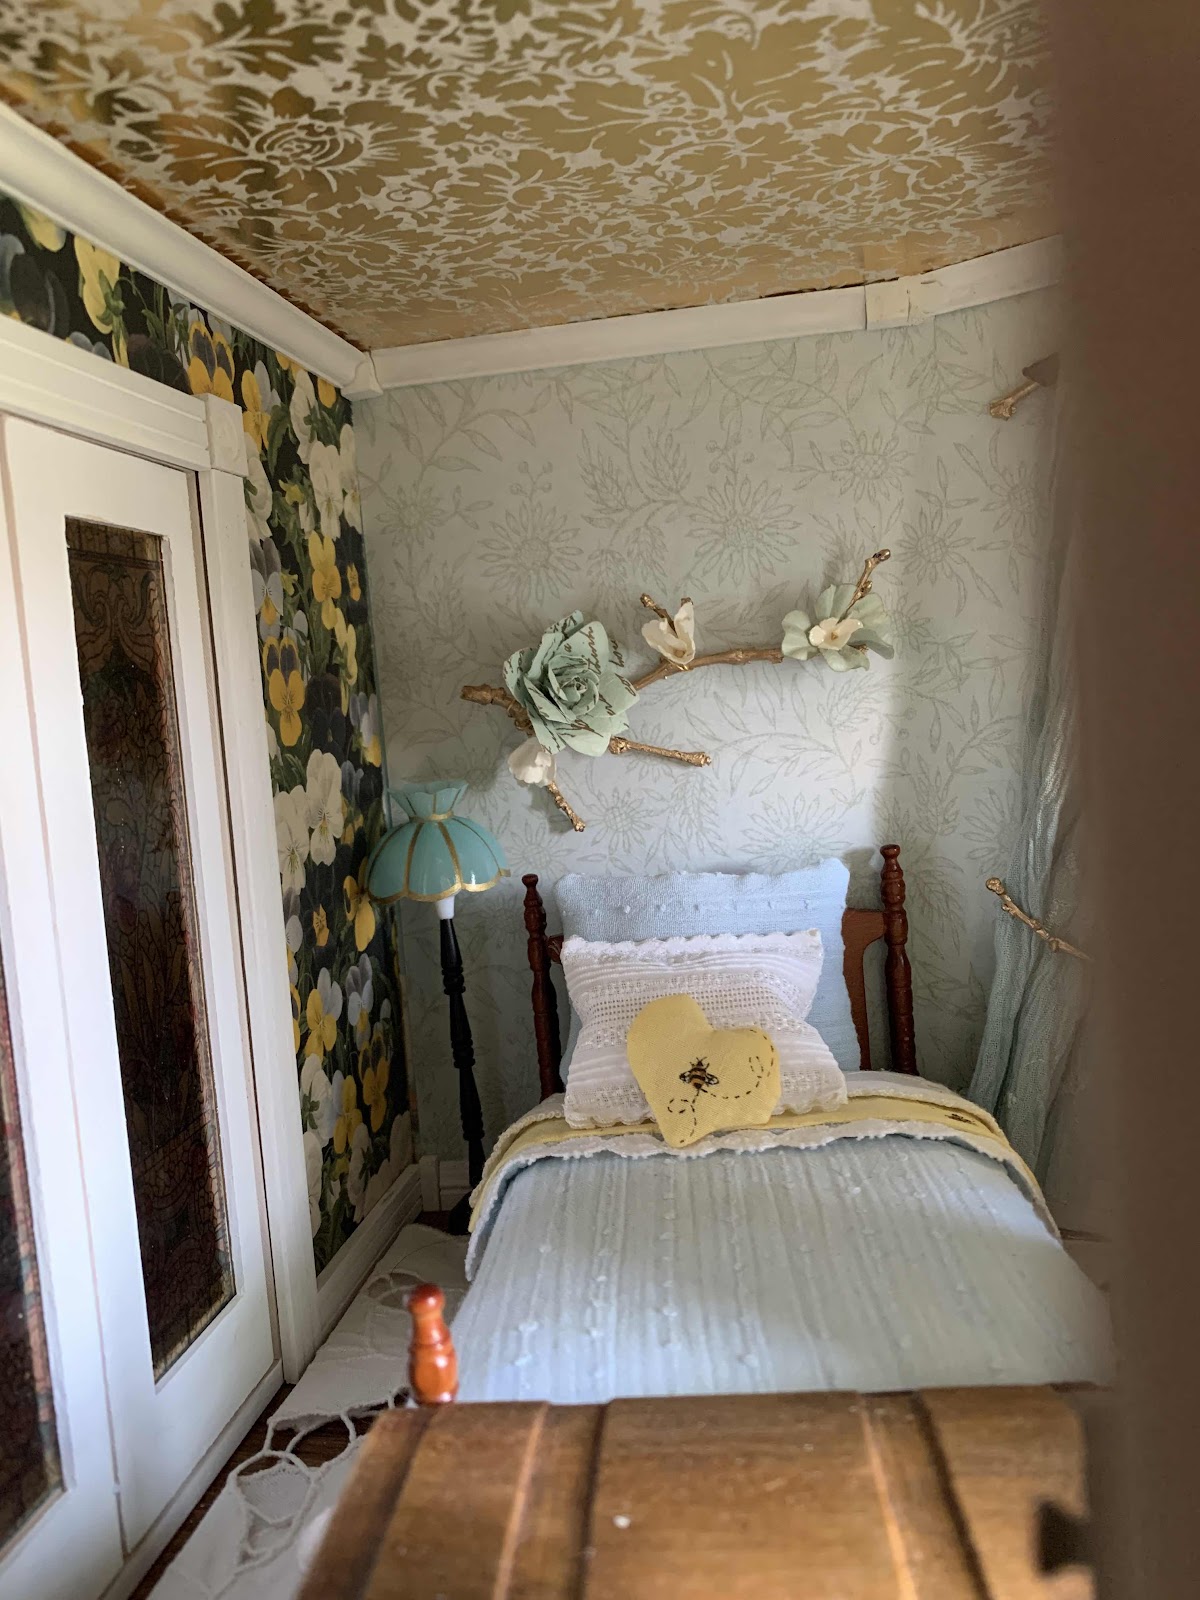
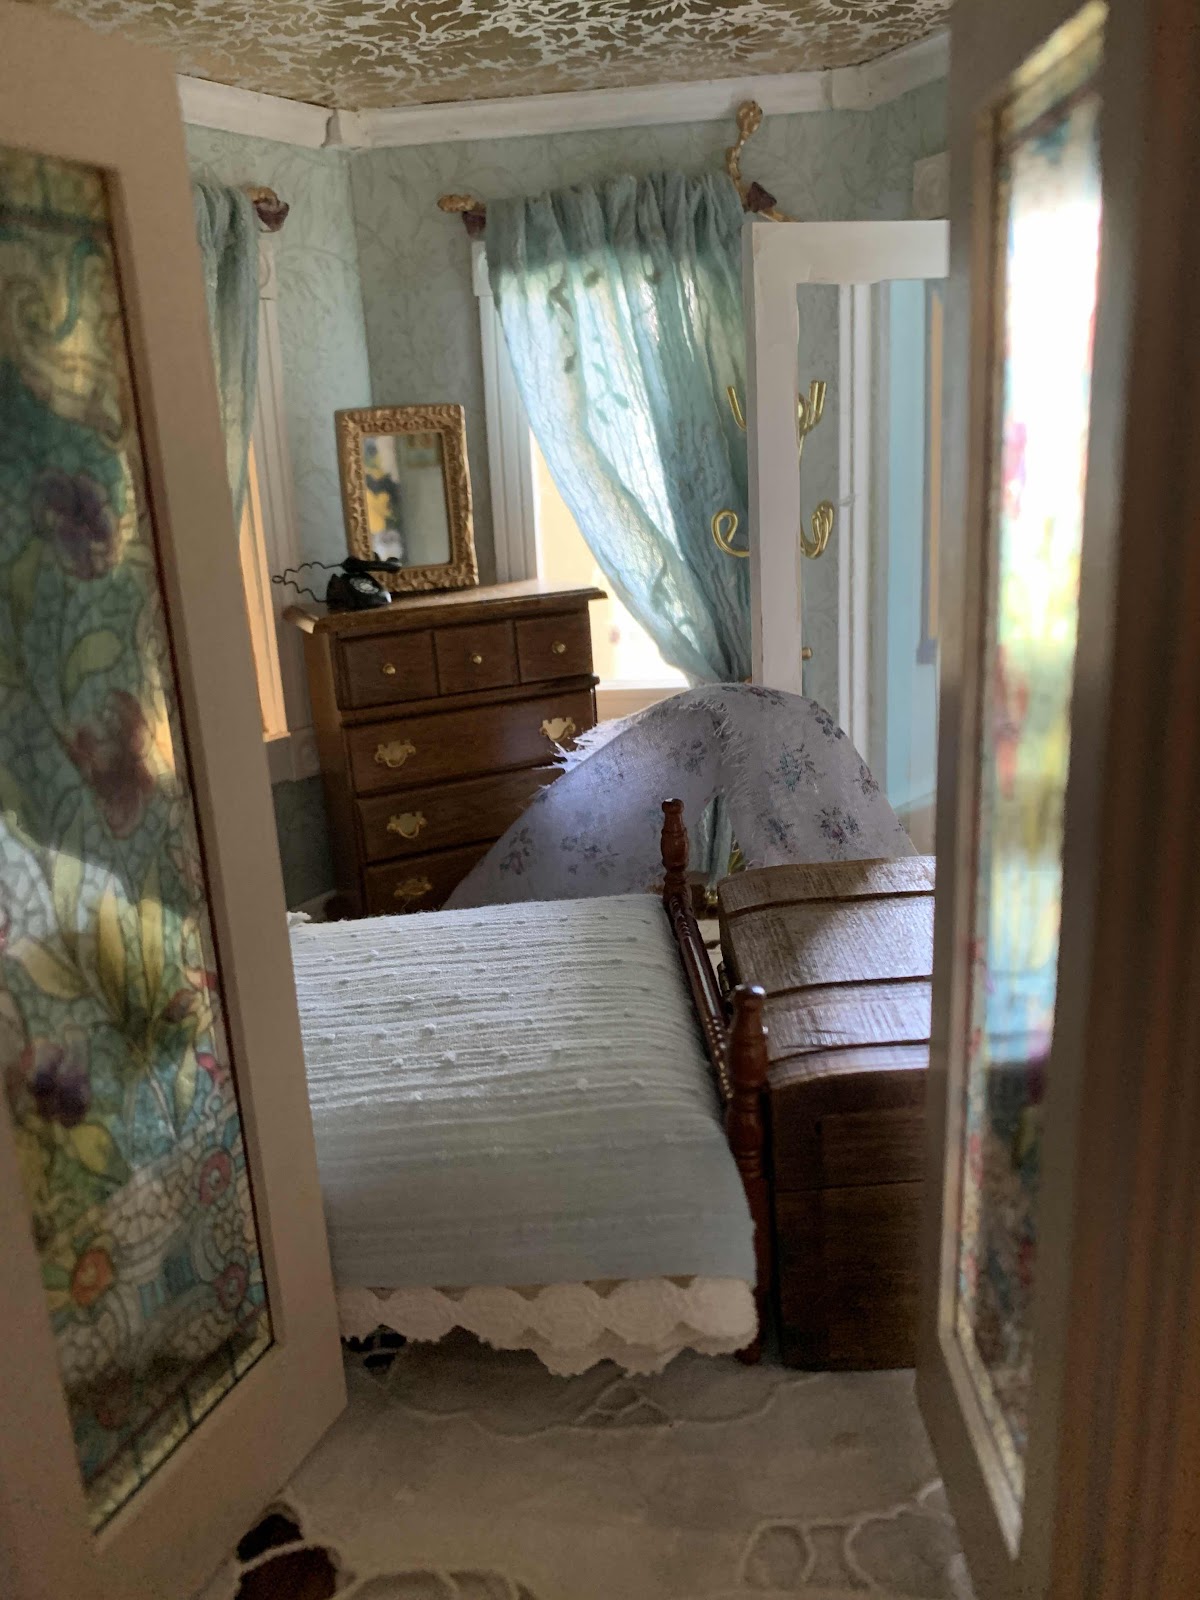
I haven’t added baseboards or crown moulding to the near bedroom yet. I am probably going to do that later. The far bedroom is done! 


Though I may add a few potted plants or maybe a little suitcase. It just feels so good to have completed something. If I don’t count the attic, the inside is about 75% done now!
Peldyn

Sunday, April 18, 2021

A Plea For Standardization

Doing electrical on a dollhouse is pretty stressful even if you don’t have any problems. If you run into a snag then it becomes a nightmare. 
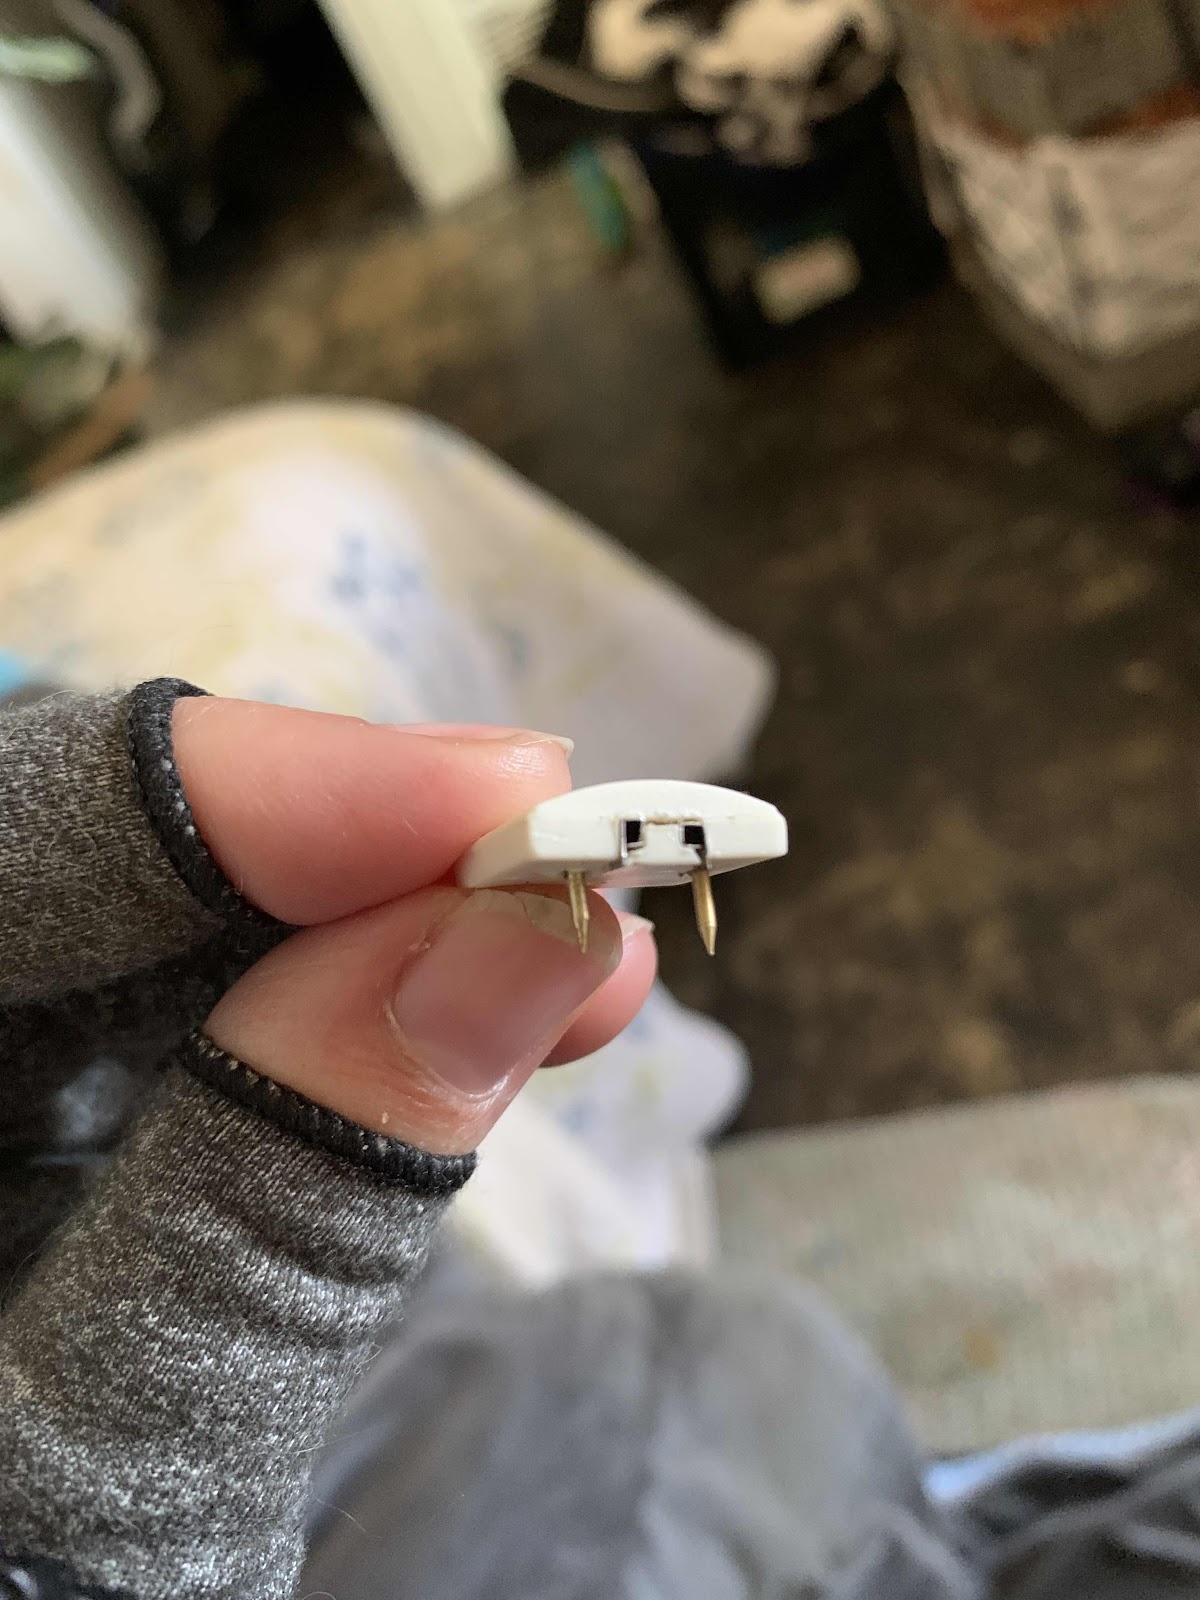
The original transformer I was using for this dollhouse was very old. I don’t even know how old. When it decided to go crazy, it fried the junction splice. We are talking sparks shooting and smoke. So I buy a new transformer and dig out another junction splice from my parts bin. This is all working well until I needed to remove the junction splice to add the brick. The splice broke. Going onto Amazon I buy a new junction splice that looks like the one I had. I receive a different one. Looks like cir-kit changed their junction splices at some point.

Old splice


New splice


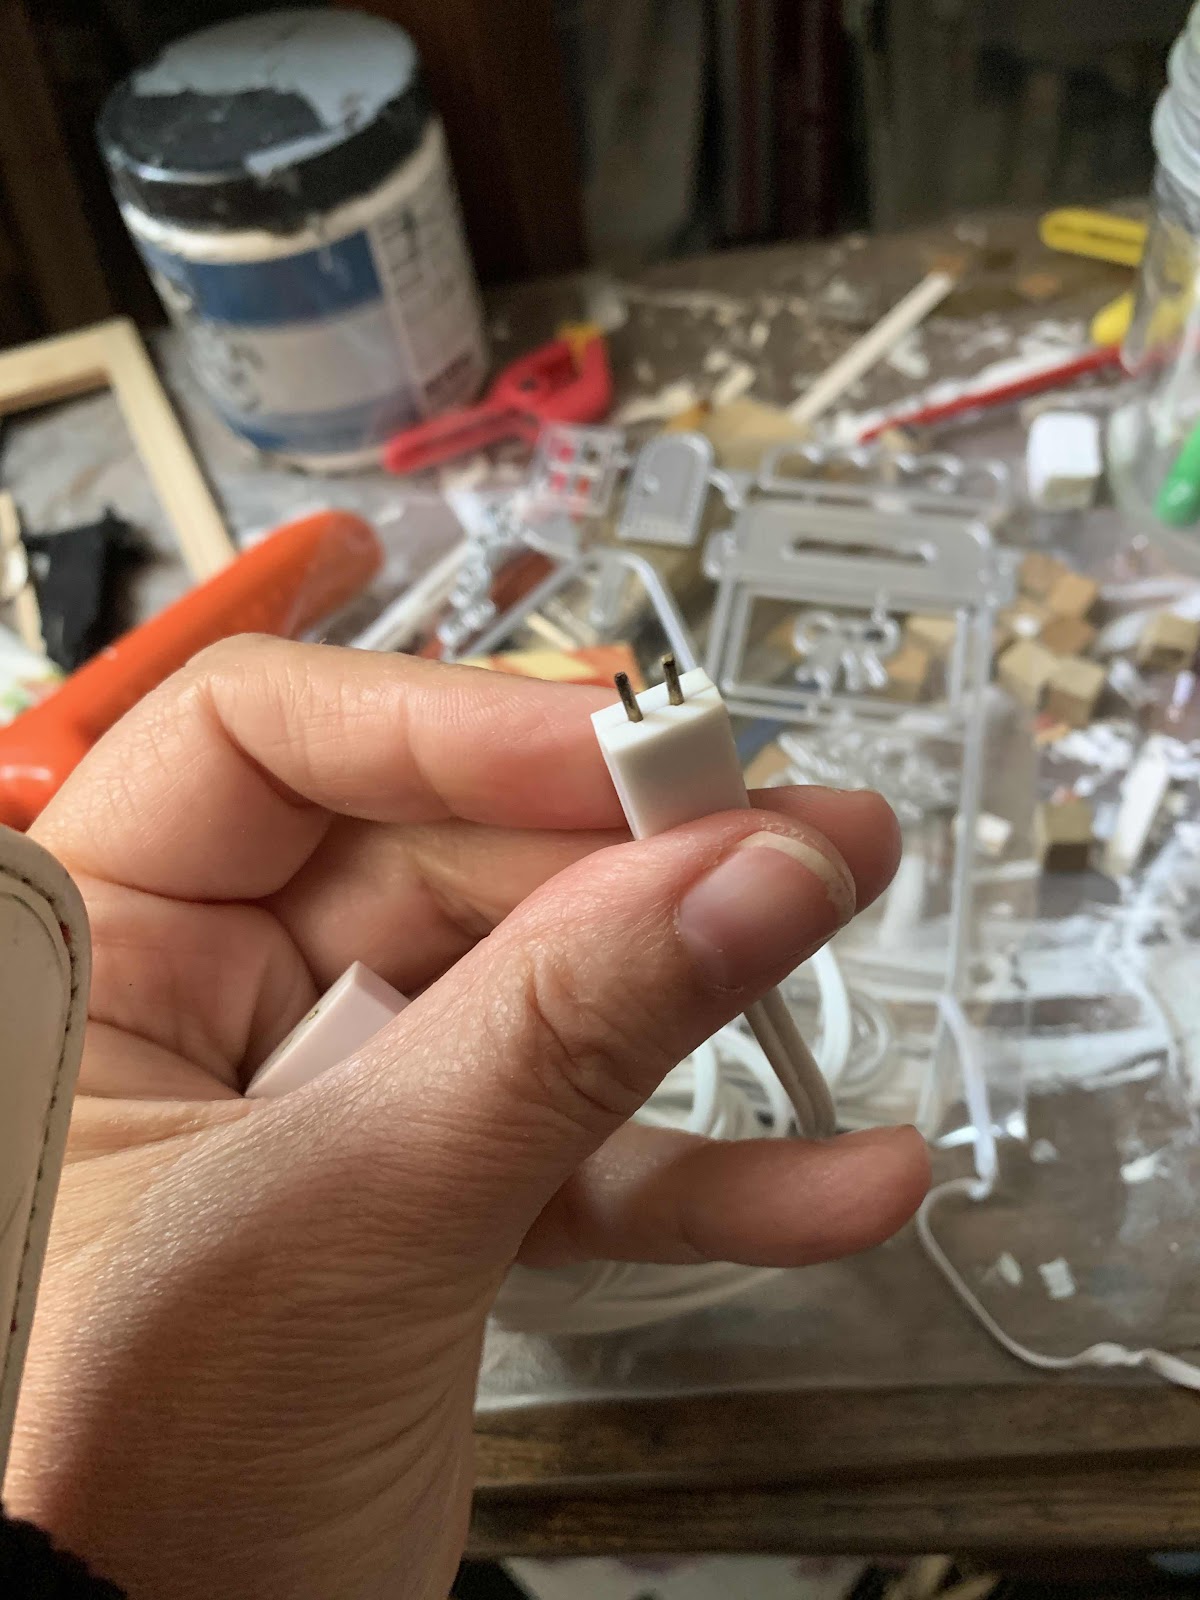
So I try to plug in the lead in wire. The prongs are too big! Well dang it. I go back to Amazon and order a new lead in wire that specifically says it will fit cir-kit part CK1007 which is what I now have. 
It came in the mail yesterday and guess what? It doesn’t fit!


The prongs are the same size as the old lead in wire. I head over to the cir-kit website and they want $13.95 shipping for a $5 wire that they will just put in a padded envelope and ship first class for $3. Screw that. That is highway robbery. I went to eBay this time and found what looks to be the old style junction splice for sale. I bought two. Goddess help me if they don’t work because I am about done with this tomfoolery. Standardized parts for electrical should be a rule.  Forcing people to buy multiple of parts because they changed something is ridiculous. 
So this is were I am at right now. I have one room left undone and need the electricity so I can make sure the tape wire is operational. In the entryway I only have the ceiling light to put up, but without electricity I can’t tell where to put the dang plug. Maybe I will just start sawing the wood for the outside board and batten. That should keep me occupied instead of stewing over this.
Peldyn